



This post may contain affiliate links. Please read my disclosure policy.
In This Article Show
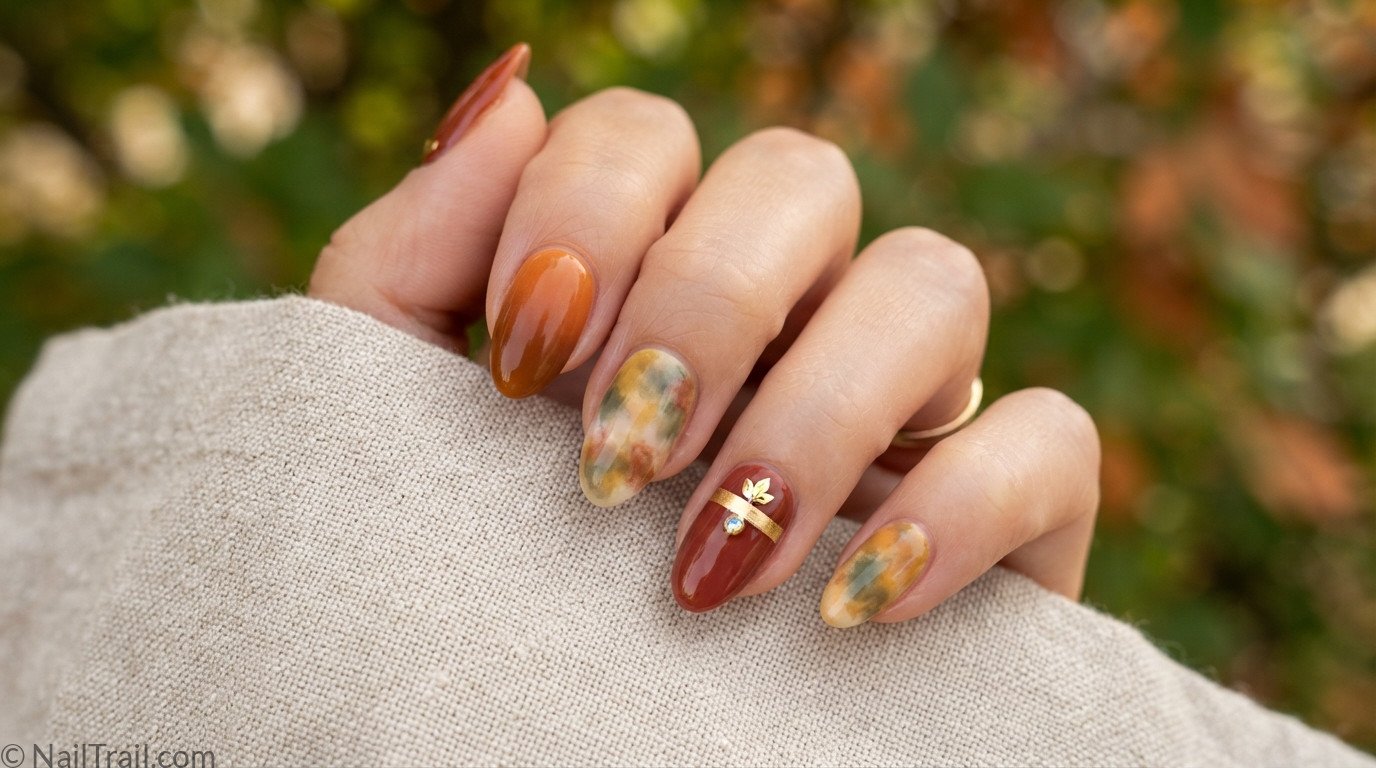
Fall blooming gel nails are having a huge moment — Pinterest searches are up 800% this month. If you loved brown nail ideas or want something that pairs perfectly with red nail ideas, this list is about to become your new favorite mood board. Blooming gel’s signature organic color-spreading effect gets a whole new life in burgundy, rust, olive, and chocolate tones — a fresh seasonal take on the classic blooming gel nails technique.
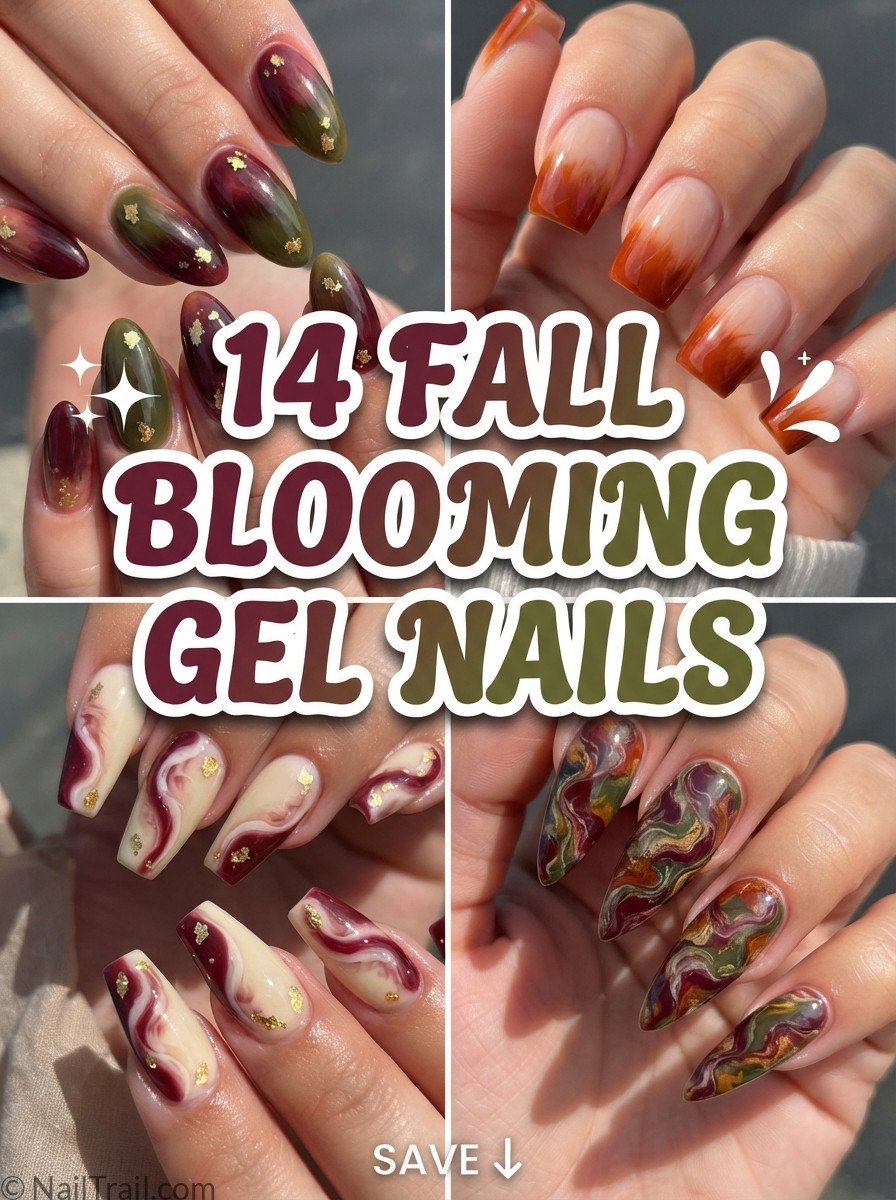
Burgundy blooms, rust tip fades, gold leaf accents, and everything cozy in between — here are 14 fall blooming gel nails worth saving right now! 🍂🌸
💅 Quick picks
Most classic: Full-Nail Burgundy-Olive Bloom (#1)
Most wearable: Tip-Only Rust Bloom (#2)
Most luxe: Bloom with Gold Leaf (#5)
How Blooming Gel Works
- Start with blooming gel: Paint a thin layer and don’t cure it.
- Drop in color: Dot gel color onto the wet blooming base and watch it spread.
- Don’t overwork it: Let the color move on its own for a soft, natural bloom.
- Cure, then seal: Cure once you like the shape, then add a glossy top coat.
- Fall shades: Burgundy, rust, olive and chocolate bloom beautifully.
1. Full-Nail Burgundy-Olive Bloom
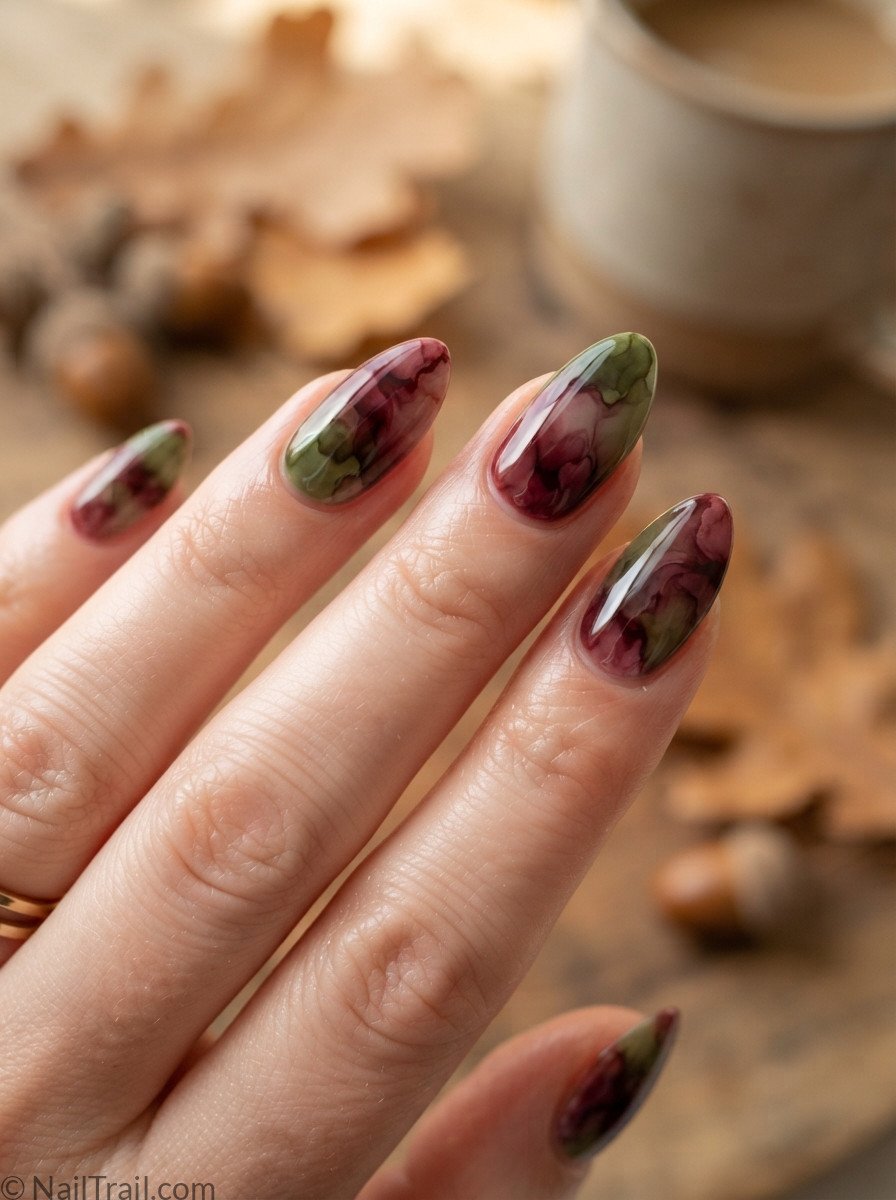
Burgundy and olive blooming gel colors spread and mingle organically across the full nail with zero defined edges — the purest expression of the blooming technique, letting the colors do all the work.
Best for: A dreamy fall look.
Ask your nail tech for: Burgundy and olive blooming across the full nail.

Shop this look
Blooming Gel
Drop color into this clear gel and watch it spread into soft, dreamy blooms and watercolor effects.
Check Price on Amazon →PRO TIP Drop colors into the wet blooming base one at a time and let them spread naturally without overworking them.
2. Tip-Only Rust Bloom
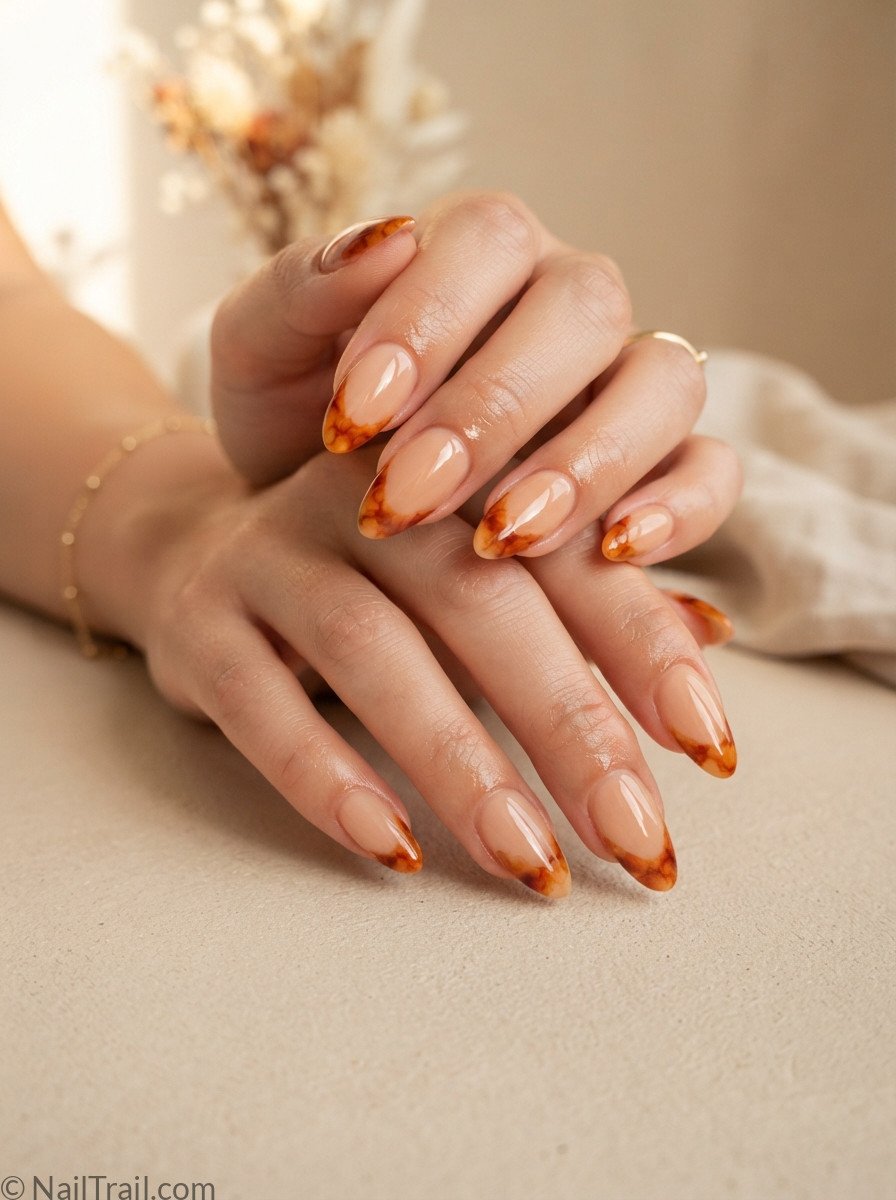
Rather than blooming across the whole nail, the color spread is confined only to the tip in a French-tip silhouette, giving the organic bloom effect a more structured, wearable shape.
Best for: An easy, wearable bloom.
Ask your nail tech for: A rust bloom on the tip only.
PRO TIP Apply the blooming base only to the tip area with a small brush before dropping in color for a contained bloom.
3. Cuticle Bloom Halo
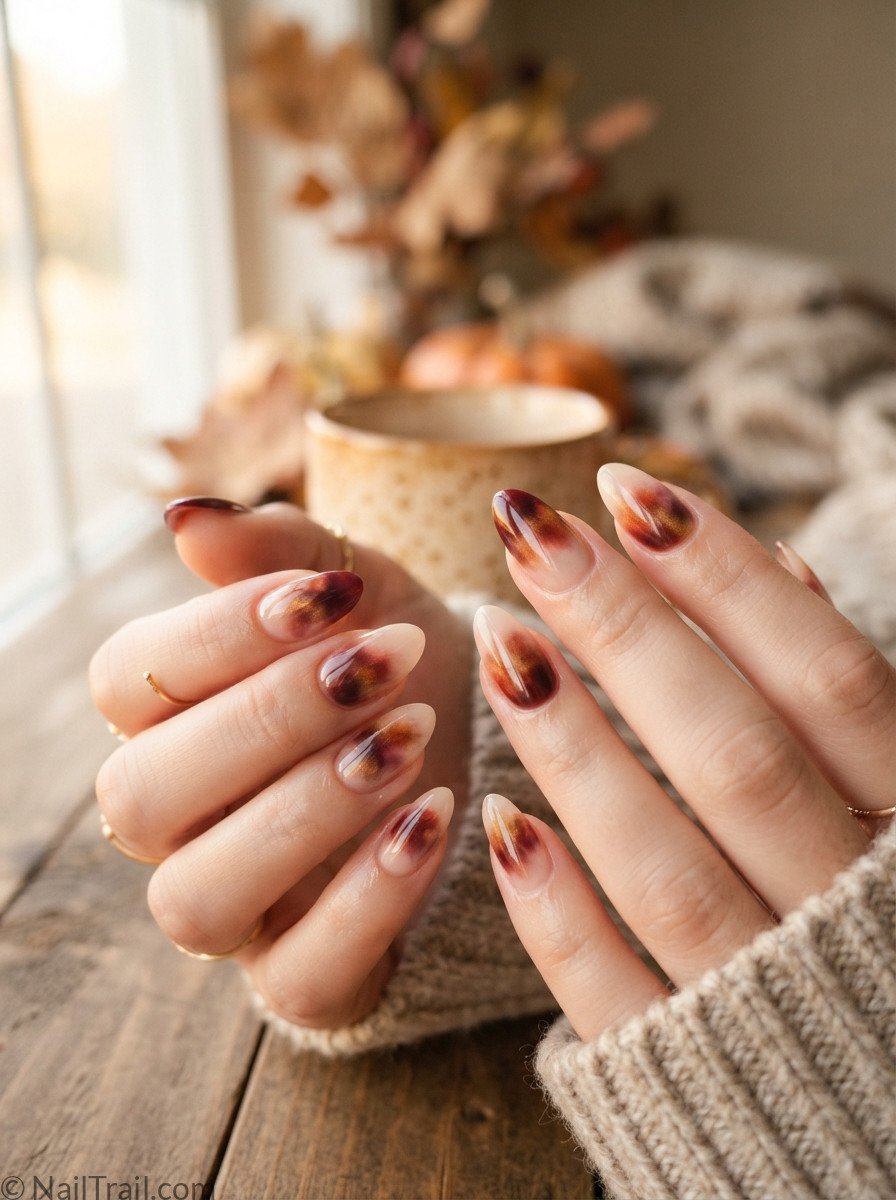
Color is dropped at the cuticle and allowed to bloom outward in a soft halo, fading into a bare nude tip — a reverse structure from the typical tip-focused nail art placement.
Best for: A soft, reverse look.
Ask your nail tech for: Color blooming out from the cuticle.
PRO TIP Concentrate your color drop right at the cuticle line and let gravity and gel flow do the spreading.
4. Dual-Tone Symmetrical Bloom
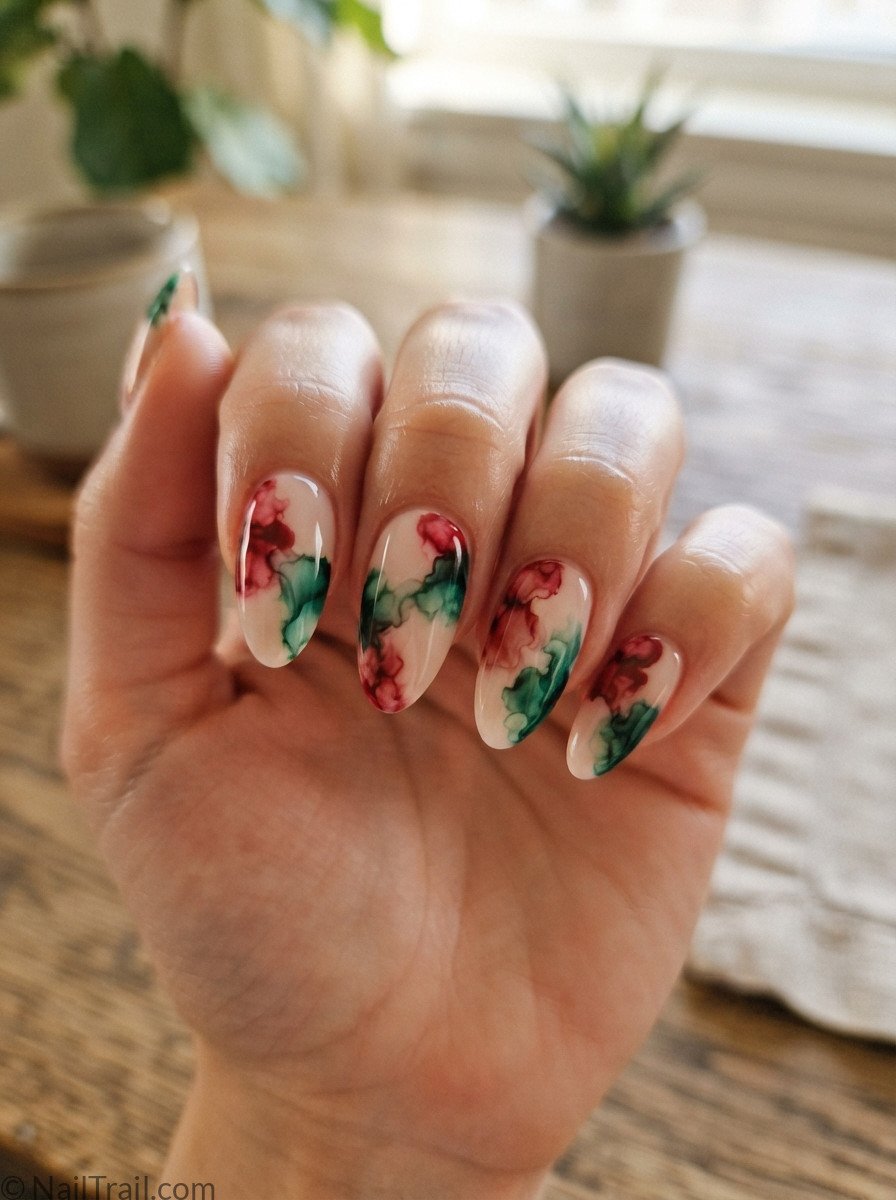
Two separate color blooms are dropped symmetrically on either side of the nail and allowed to meet softly in the center, creating a balanced, mirrored composition rather than one central bloom.
Best for: A balanced design.
Ask your nail tech for: Two blooms meeting in the center.
PRO TIP Drop both colors at the same time from opposite sides so they bloom and meet evenly in the middle.
5. Bloom with Gold Leaf Accent
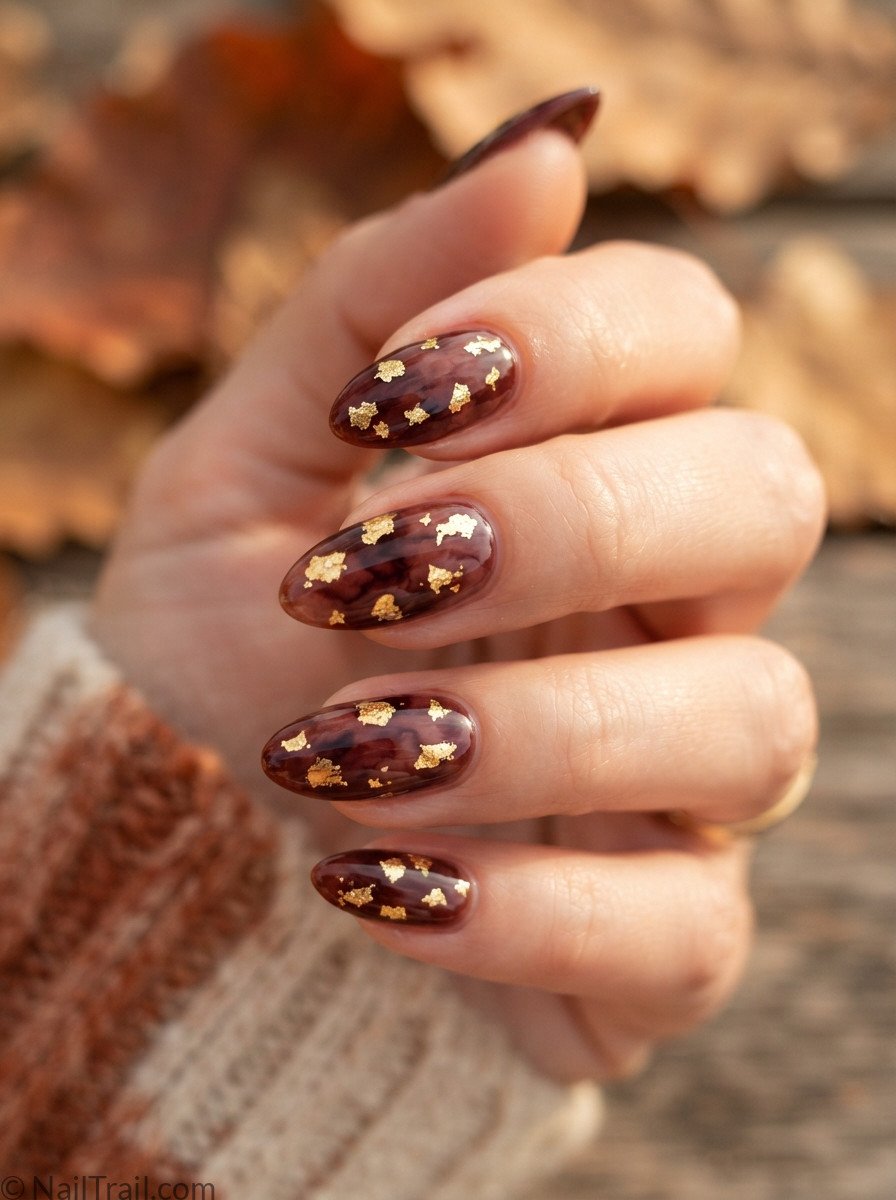
A burgundy-brown bloom gets topped with a few delicate gold leaf pieces pressed directly into the wet gel — adding texture and shine on top of the organic color spread.
Best for: Special events.
Ask your nail tech for: A burgundy bloom with gold leaf.

Shop this look
Gold Foil Flakes for Nails
Press a few flakes onto tacky gel for an instant luxe accent.
Check Price on Amazon →PRO TIP Press gold leaf pieces onto the bloom while it’s still tacky so they set into the gel securely.
6. Marbled Bloom Swirl
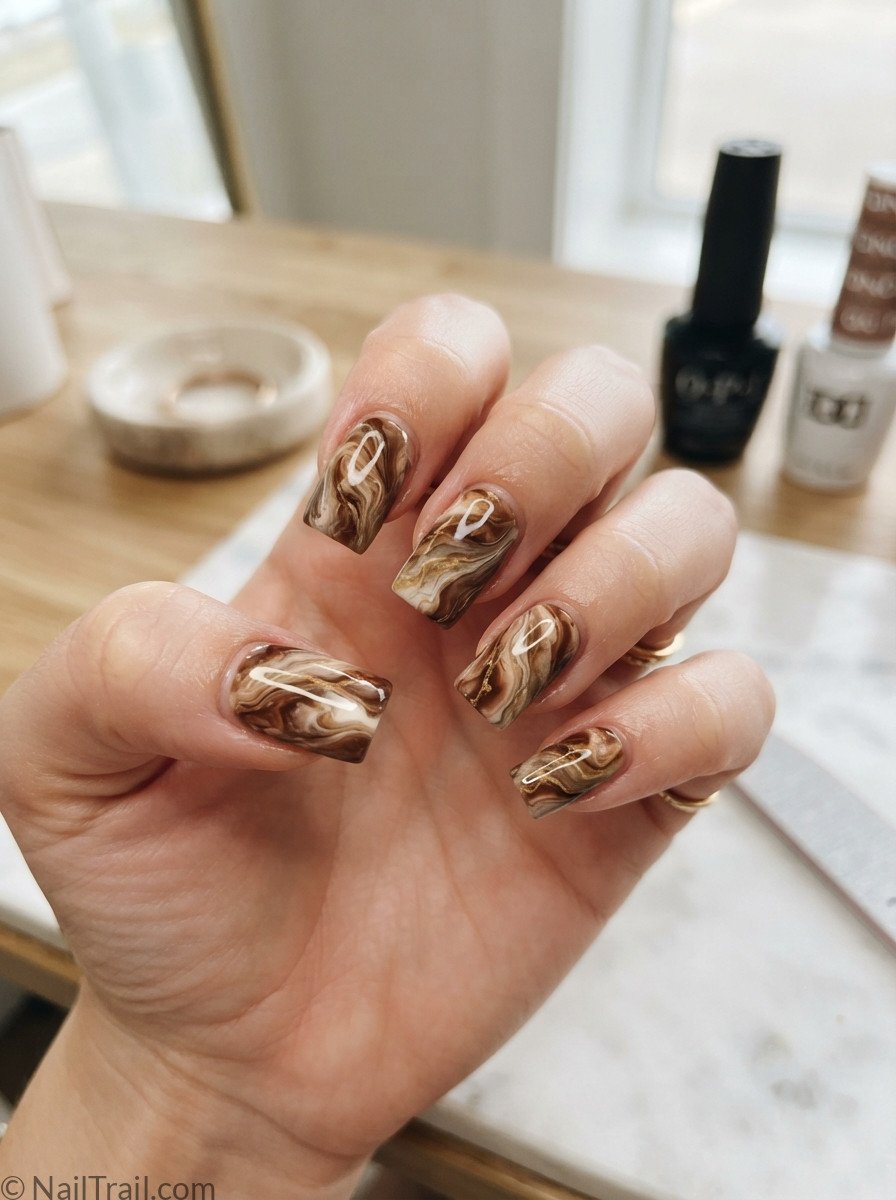
While the blooming colors are still wet, a fine tool drags through them in a swirling motion, turning the organic bloom into a more directional, veined marble pattern.
Best for: An artsy look.
Ask your nail tech for: A bloom dragged into marble swirls.
PRO TIP Drag a thin dotting tool through the wet bloom in one continuous motion to avoid muddying the colors.
7. Bloom Fade to Nude
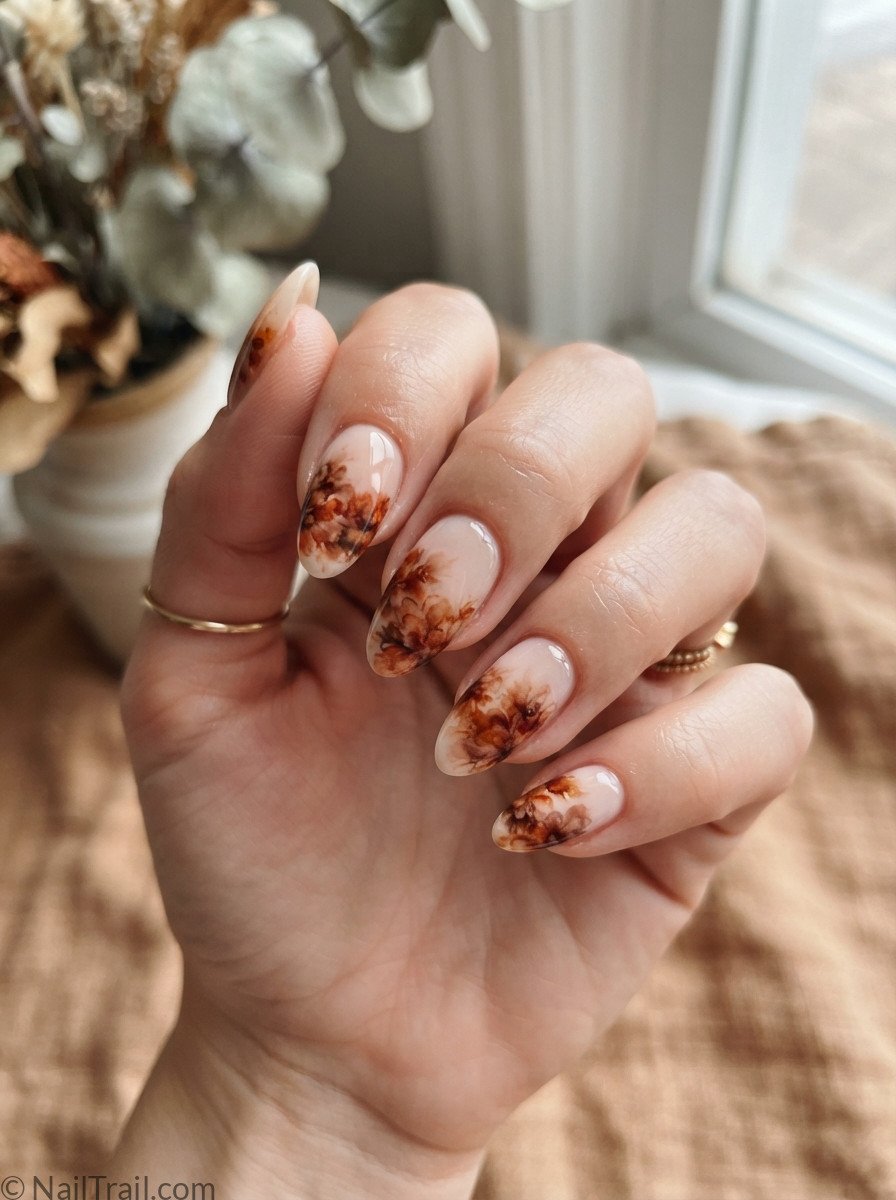
Color is concentrated at the base and blooms most densely there, gradually thinning out toward a bare nude tip — an ombre-like structure built entirely from the blooming technique rather than a sponge fade.
Best for: An ombre lover.
Ask your nail tech for: Color blooming from the base to a nude tip.
PRO TIP Use a smaller color drop as you work toward the tip so the bloom naturally thins out.
8. Bloom Cluster Dots
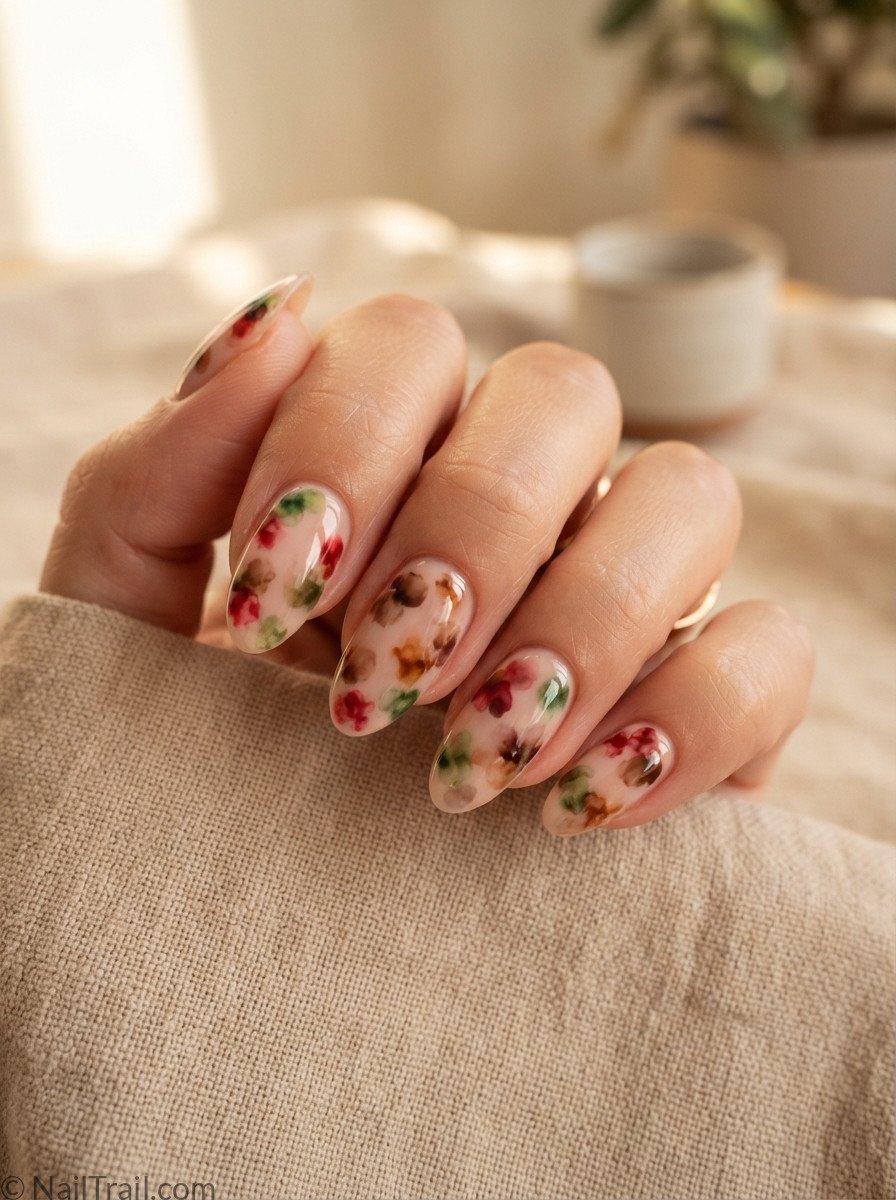
Several small color drops are placed at random and allowed to bloom independently into soft, irregular clusters across the nail — an organic scatter that reads completely differently from precise polka dots.
Best for: A playful scatter.
Ask your nail tech for: Small bloom clusters across the nail.
PRO TIP Space your color drops unevenly and vary the drop size for the most natural-looking cluster scatter.
9. Square Bloom Blocked Edges
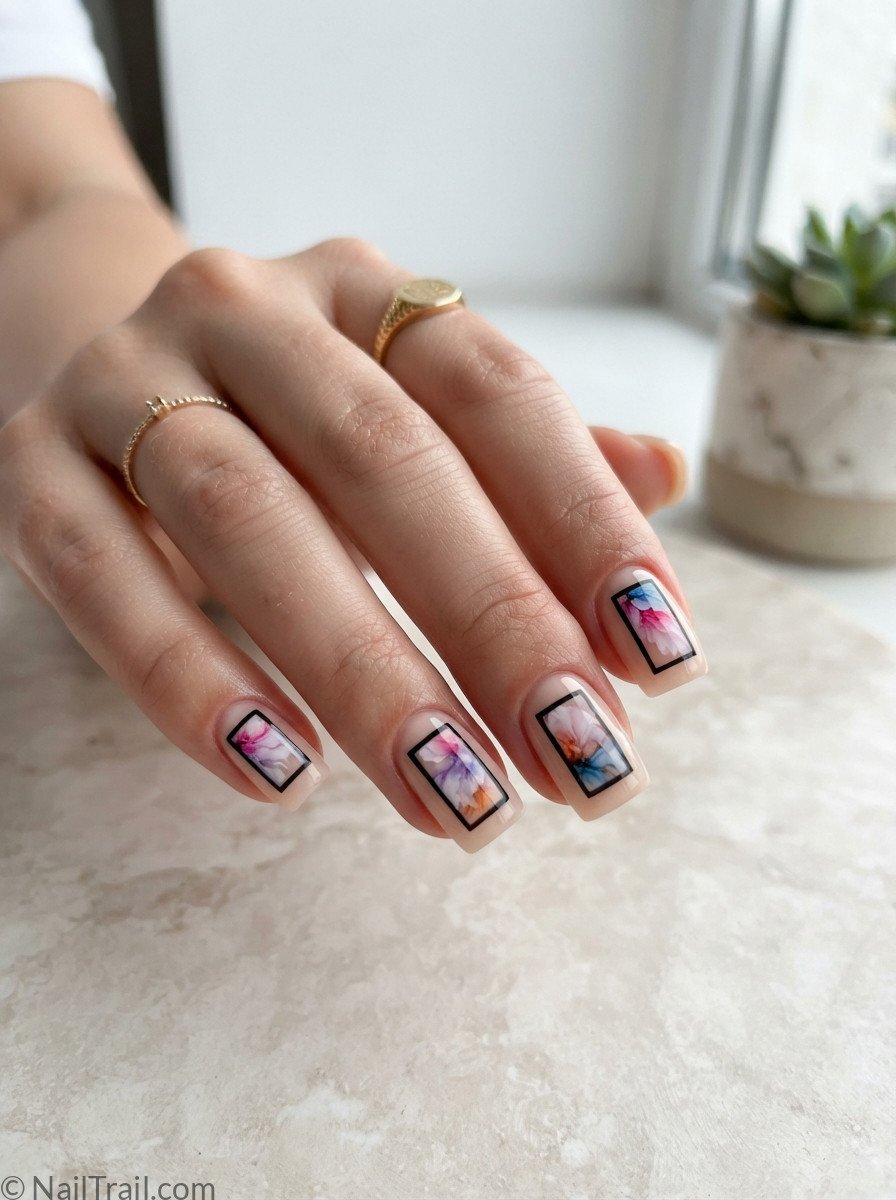
A crisp rectangular outline is taped onto a nude base first, then the bloom is created only inside that block — pairing the organic bloom texture with an unexpectedly graphic, structured edge.
Best for: A graphic twist.
Ask your nail tech for: A bloom inside a taped rectangle.

Shop this look
Nail Art Striping Tape
Thin tape for clean lines, color blocks and negative space designs.
Check Price on Amazon →PRO TIP Mask off your rectangle with tape before applying the blooming gel, then peel it away once cured.
10. Almond Bloom with Sheer Overlay
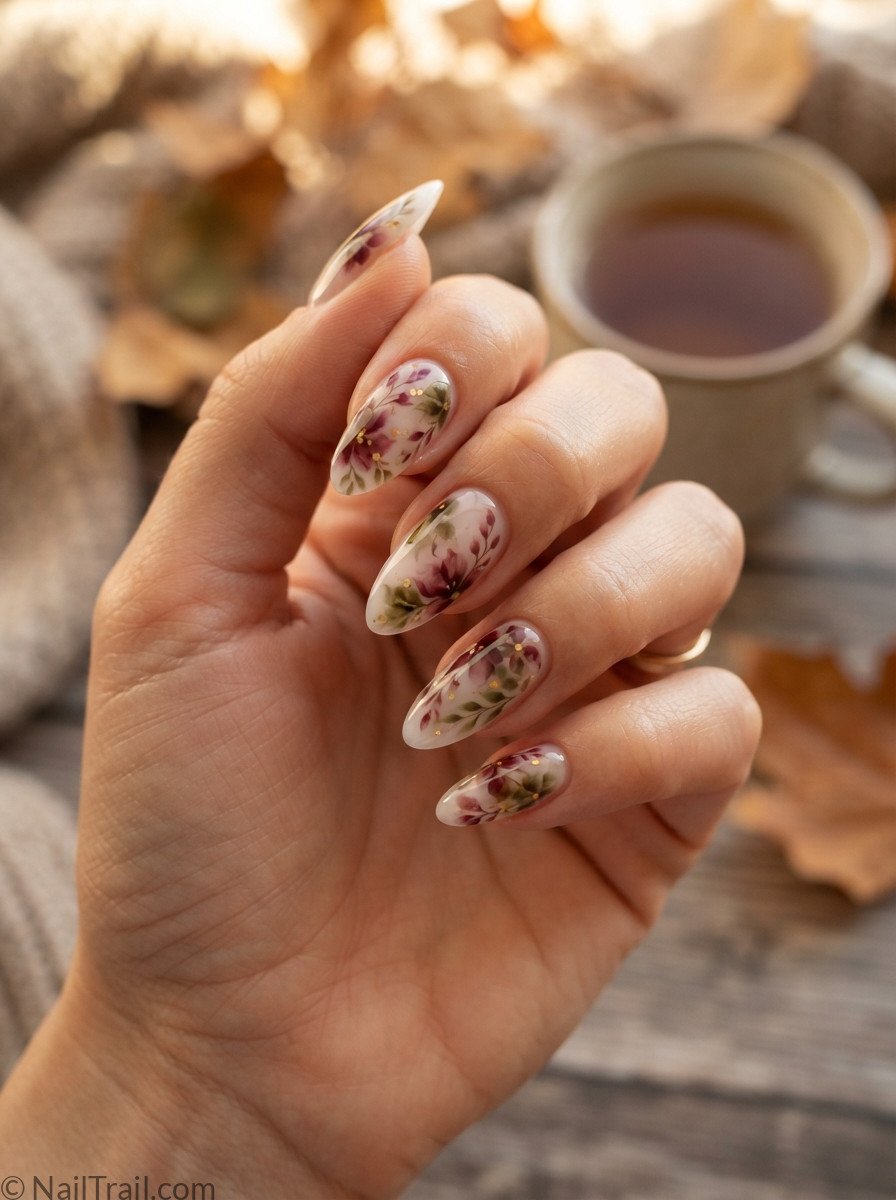
A finished bloom gets sealed under an extra milky sheer layer, softening and slightly diffusing the colors underneath for a hazier, more muted version of the bloom effect.
Best for: A soft, hazy look.
Ask your nail tech for: A bloom sealed under a milky sheer layer.

Shop this look
Milky White Gel Polish
A soft, semi-sheer white for clean-girl, bridal and milky nails.
Check Price on Amazon →PRO TIP Apply the milky sheer layer thin and even so it softens the bloom without hiding it completely.
11. Short Nail Bloom Mini
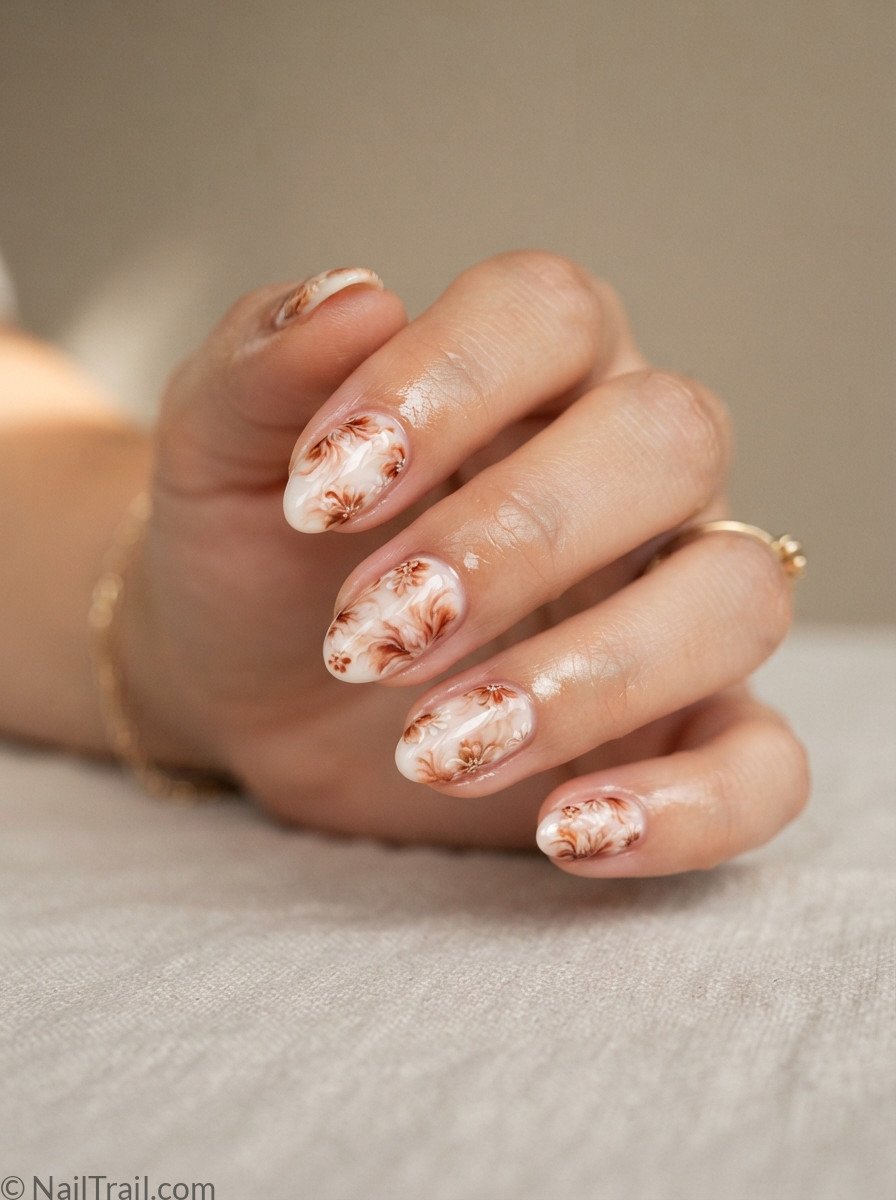
The bloom is scaled down and dropped in smaller amounts to suit a shorter nail canvas, keeping the organic effect proportional and neat rather than overwhelming a smaller surface.
Best for: Short nails.
Ask your nail tech for: Small, neat mini blooms.
PRO TIP Use a smaller brush and less color per drop on short nails so the bloom stays proportional.
12. Bloom Ombre French
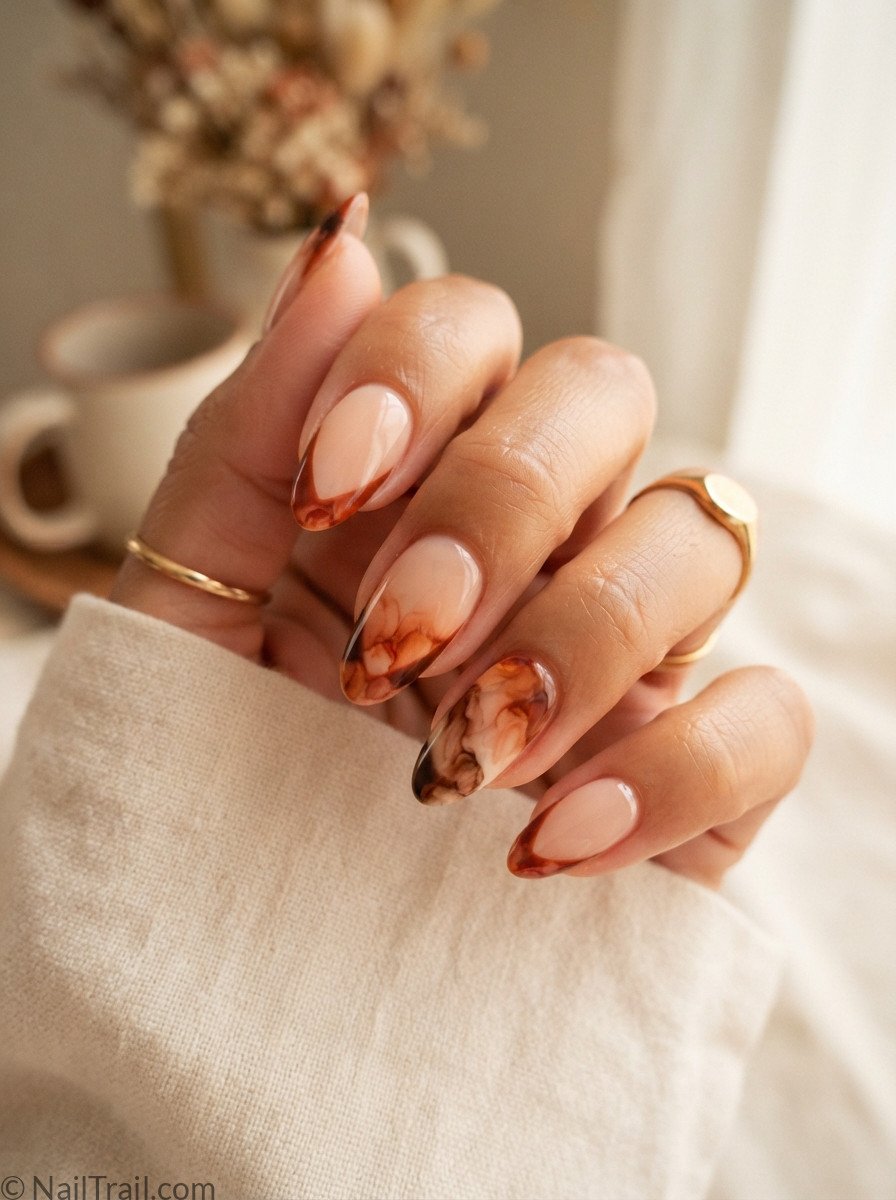
The classic French silhouette gets an organic twist — rust blooms into brown inside the tip shape itself, keeping the familiar outline while the color transition happens naturally rather than through sponge blending.
Best for: A modern French.
Ask your nail tech for: Rust blooming into brown inside the tip.

Shop this look
French Tip Guide Stickers
Stick-on guides for crisp, even tip lines — no steady hand needed.
Check Price on Amazon →PRO TIP Outline your French tip shape first with a guide sticker, then let the colors bloom freely within that boundary.
13. Triple-Color Bloom Blend
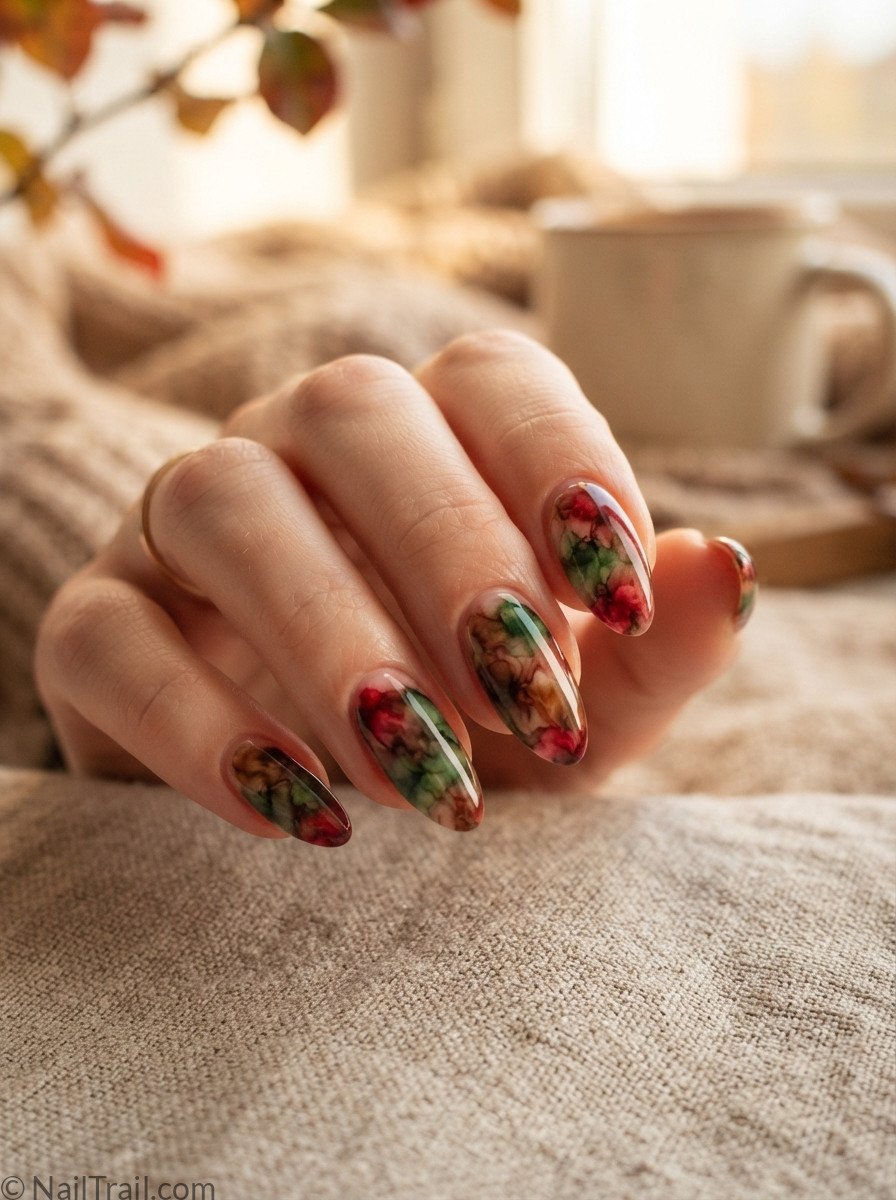
Three colors are dropped in sequence and allowed to bloom and blend together, creating a richer, more layered result than a typical two-color bloom.
Best for: Color lovers.
Ask your nail tech for: Three fall shades blooming together.

Shop this look
Fall Gel Polish Set
Burgundy, olive, mustard and rust shades made for autumn manicures.
Check Price on Amazon →PRO TIP Add your three colors one at a time with a pause between each so they blend without turning muddy.
14. Bloom with Negative Space Windows
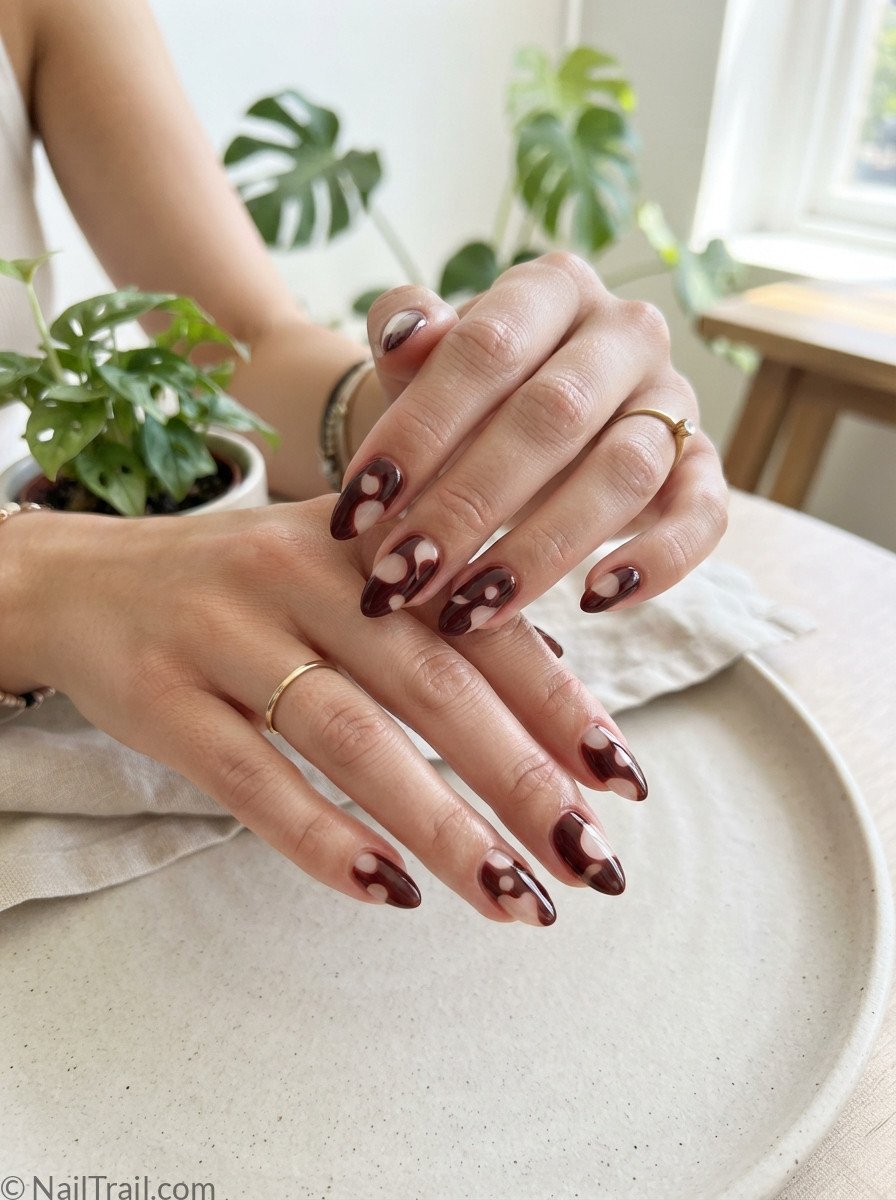
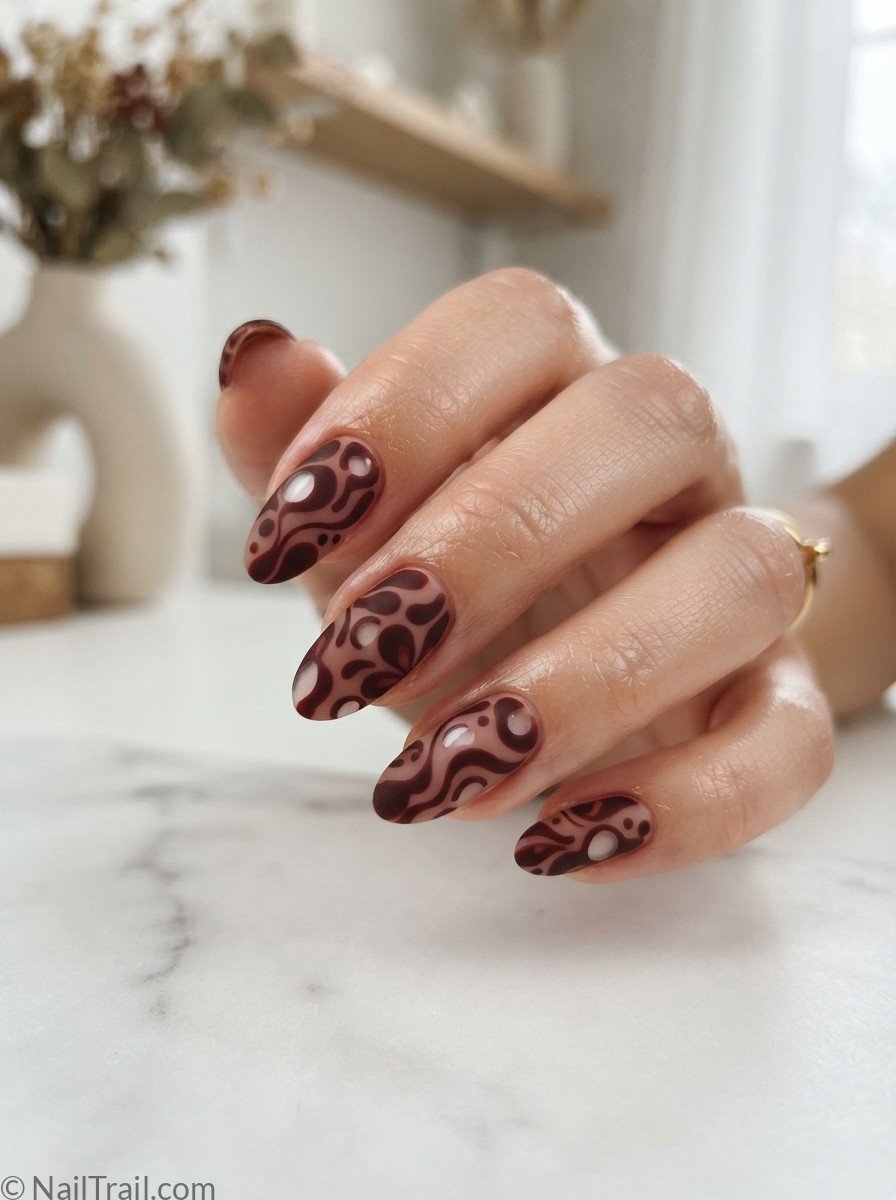
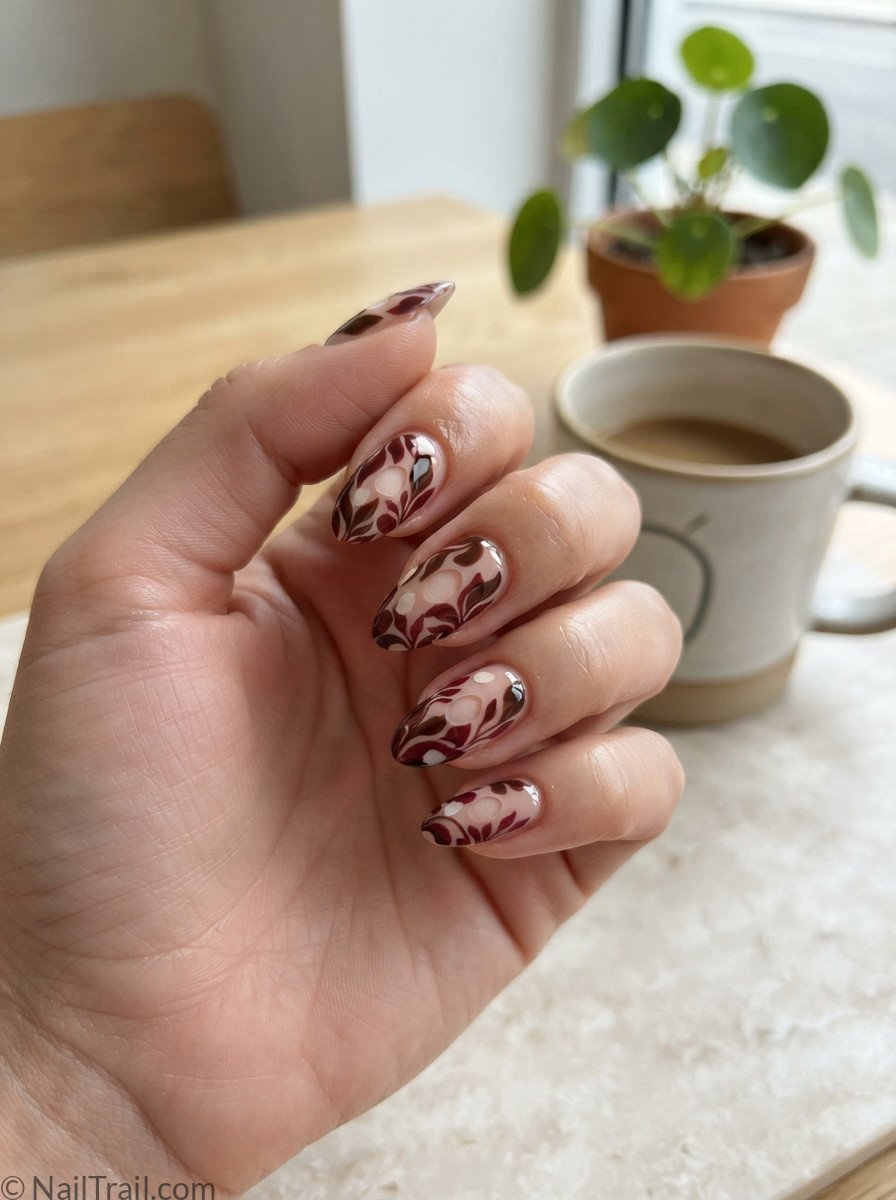
Small bare patches are masked off before the bloom is applied, leaving graphic negative-space windows within the organic color spread — a modern contrast between structure and softness.
Best for: A modern contrast.
Ask your nail tech for: A bloom with bare negative-space windows.
PRO TIP Use small dots of latex barrier or tape to mask negative-space windows before applying the blooming gel.
🎬 Watch: Fall Blooming Gel Nails Tutorial 2026
Watch this easy fall blooming gel tutorial before your next mani — it covers techniques perfectly suited for these looks, so you can recreate any of these 14 designs at home.
Quick Answers
What is blooming gel?
A clear gel that makes gel color spread and blur on its own, creating a soft watercolor effect.
Do you cure blooming gel before adding color?
No. Drop color onto the uncured blooming gel, let it spread, then cure.
What colors work for fall blooming nails?
Burgundy, rust, olive green, chocolate brown and plum all bloom beautifully.
Wrapping It Up
Fall blooming gel nails prove one technique can go so many directions — from the softest full-nail bloom to a graphic negative-space design, the organic color-spreading effect adapts beautifully to autumn’s warm palette. Whether you’re after something bold like a triple-color blend or something quiet like a sheer-overlaid bloom, there’s a look here worth booking for. Ready for more? Browse the full blooming gel nails collection for year-round inspiration. 🍂🌸