
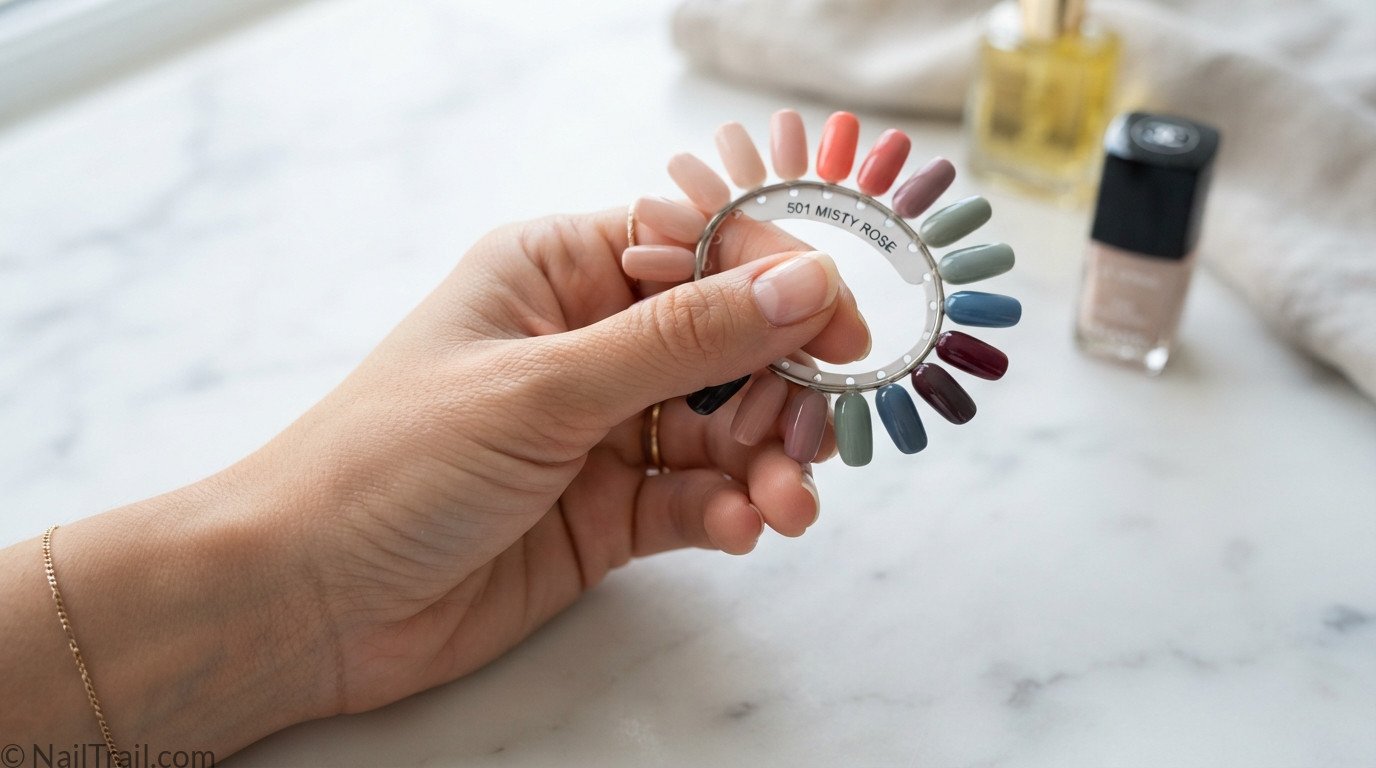
Picking the right trending nail color isn’t just about what’s popular right now — it’s about which of those trending shades actually flatters your skin tone, because the same color can look completely different from one hand to the next. Once you’ve picked the right shade, applying it evenly is what makes the difference between a salon-level manicure and one that looks streaky by day two. Here’s exactly how to pick and apply trending nail colors step by step! 💅✨
Some links below are affiliate links — if you shop through them, I earn a small commission at no extra cost to you! 💅
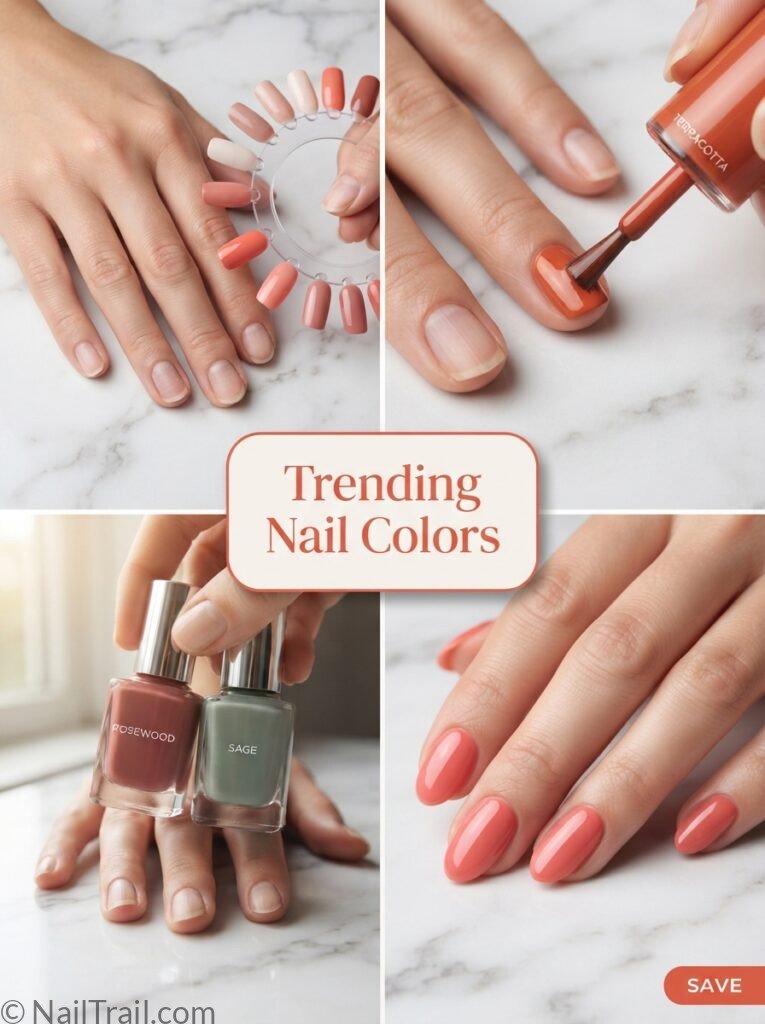
🎬 Watch: Trending Nail Colors Tutorial
Watch this full video tutorial alongside the written steps below for a clearer look at how different trending shades read on different skin tones.
What You’ll Need
Before starting, gather these tools — having your shade options and application tools ready before you begin makes the whole process smoother and helps you actually commit to a color instead of second-guessing halfway through.

Nail Color Swatch Chart Ring
View on Amazon →
Trending Nail Polish Color Set
View on Amazon →
Gel Nail Base Coat
View on Amazon →
Gel Top Coat (Glossy)
View on Amazon →
Nail Prep Kit (Buffer + Cleanser)
View on Amazon →Step-by-Step: How to Pick and Apply Trending Nail Colors
Step 1 — Setup
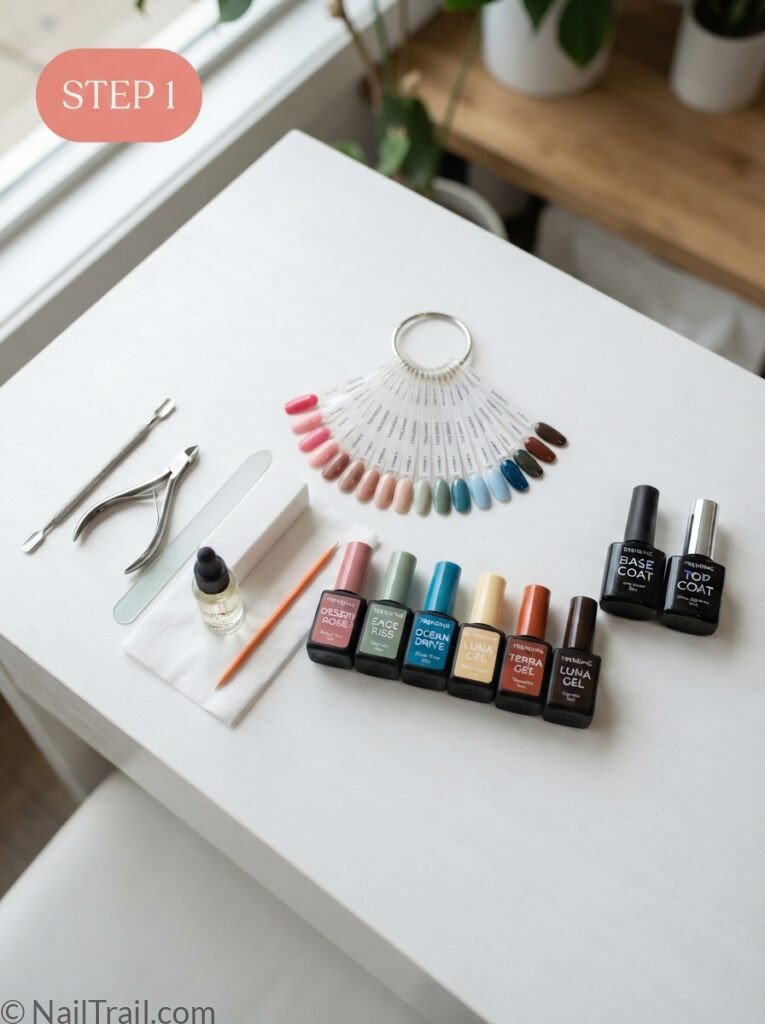
Lay out your swatch ring, your shortlist of trending polish colors, and your application tools within easy reach before you start comparing shades — natural light matters here, so set up near a window or bright lamp since indoor lighting can shift how a color actually reads on your skin.
💅 Pro tip — Compare shades in natural daylight rather than under warm indoor bulbs — indoor lighting tends to shift cooler tones warmer, which is the most common reason a color looks different once you’re outside.
Step 2 — Identify Your Skin Undertone
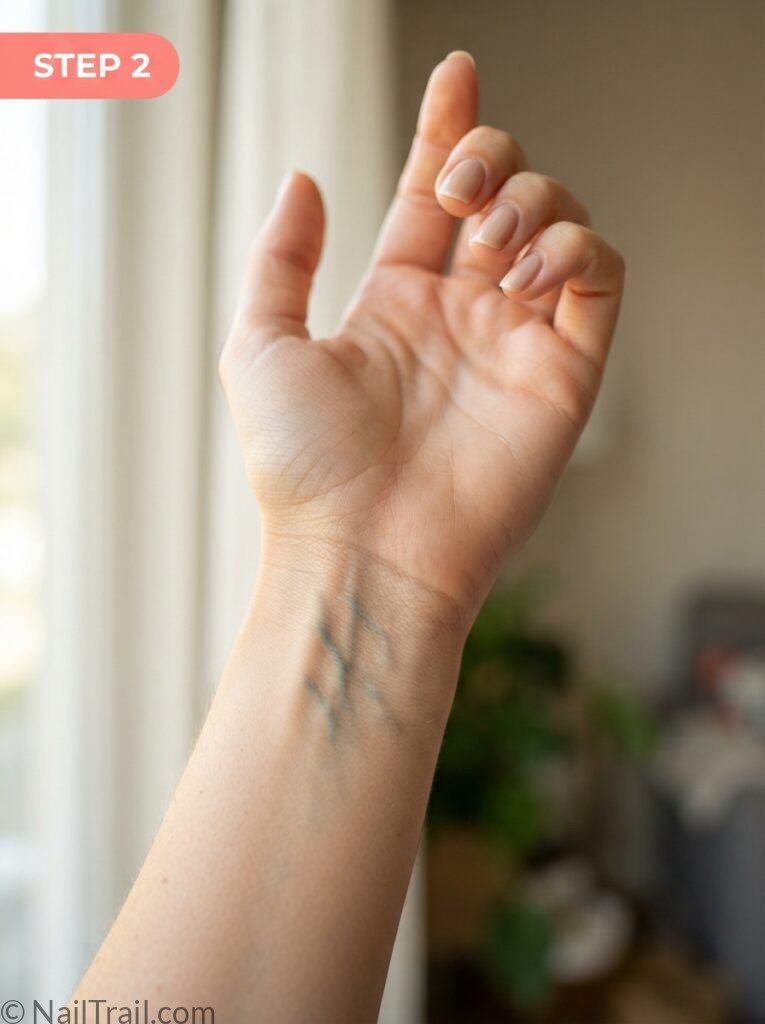
Check the veins on the inside of your wrist in natural light — if they look more blue or purple, you likely have a cool undertone, and if they look more green, you likely have a warm undertone. This one detail is the biggest factor in why the same trending shade can look completely different from person to person, since cool undertones tend to pull best from blues, berries, and icy pastels while warm undertones lean best into corals, terracottas, and golds.
💅 Pro tip — If your veins look both blue and green, you likely have a neutral undertone — which is actually the easiest to work with since almost every trending color from this season’s [nail trends 2026](https://nailtrail.com/nail-trends-2026/) will flatter you.
Step 3 — Swatch the Shade First
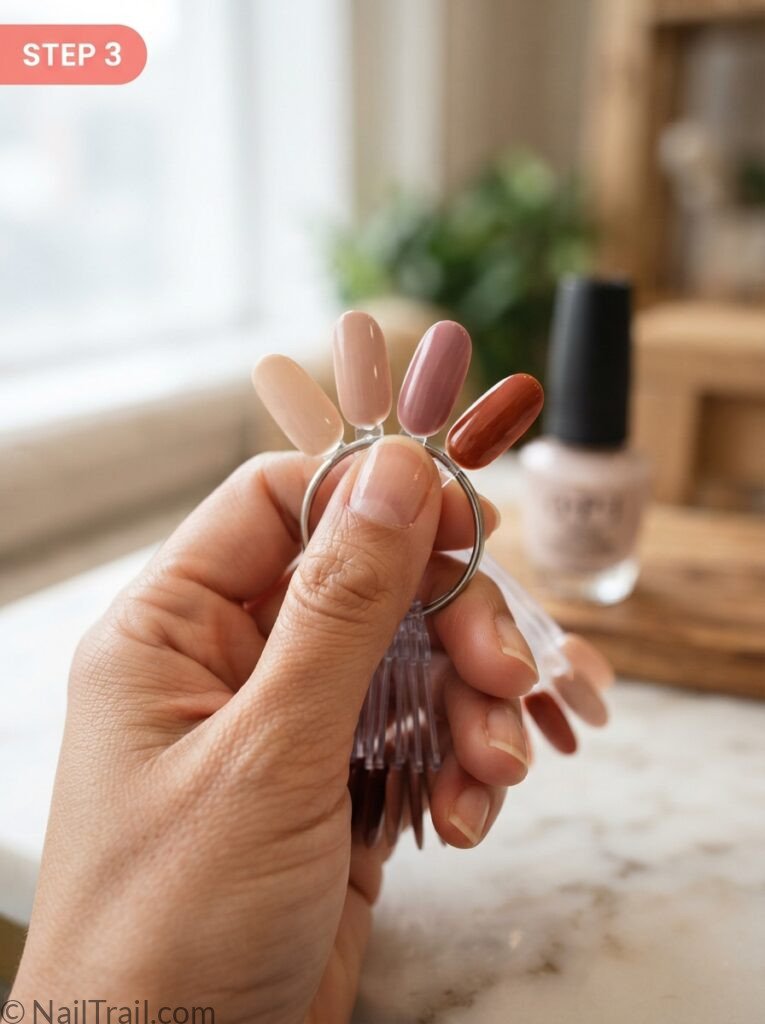
Hold your swatch ring or a small dot of each shortlisted color directly against your nail bed rather than judging it from the bottle — bottle color and on-nail color can look surprisingly different, especially with sheer or shimmer finishes. Narrow your options down to one or two shades before moving on to full application.
💅 Pro tip — Swatch trending colors on your actual nail rather than the back of your hand — nail keratin reflects polish slightly differently than skin, so a swatch on skin can be misleading.
Step 4 — Prep the Nails
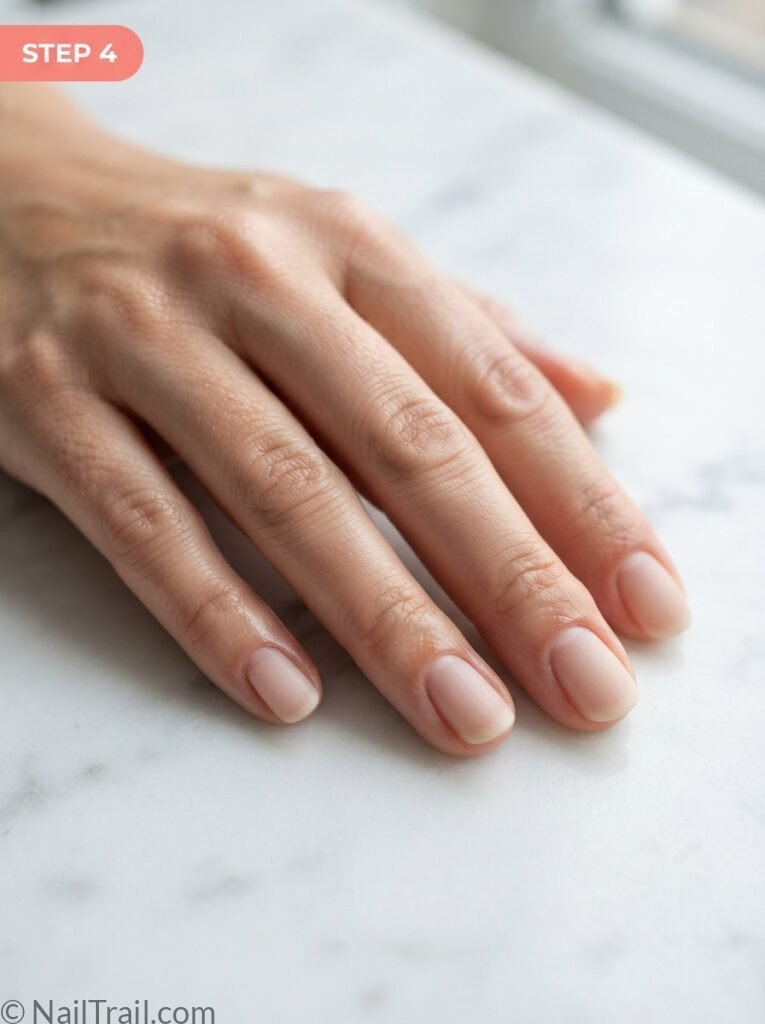
Push back your cuticles, shape and file each nail, then buff lightly to remove shine and wipe with an alcohol cleanser pad to strip away oils. A clean, dry nail bed is what allows a trending color to look as pigmented and true-to-swatch as it did in Step 3, since oil or residue underneath can dull or distort the finish.
💅 Pro tip — Buff in one direction only — this keeps the nail bed smooth so your trending shade sits evenly instead of catching on tiny ridges.
Step 5 — Apply Base Coat
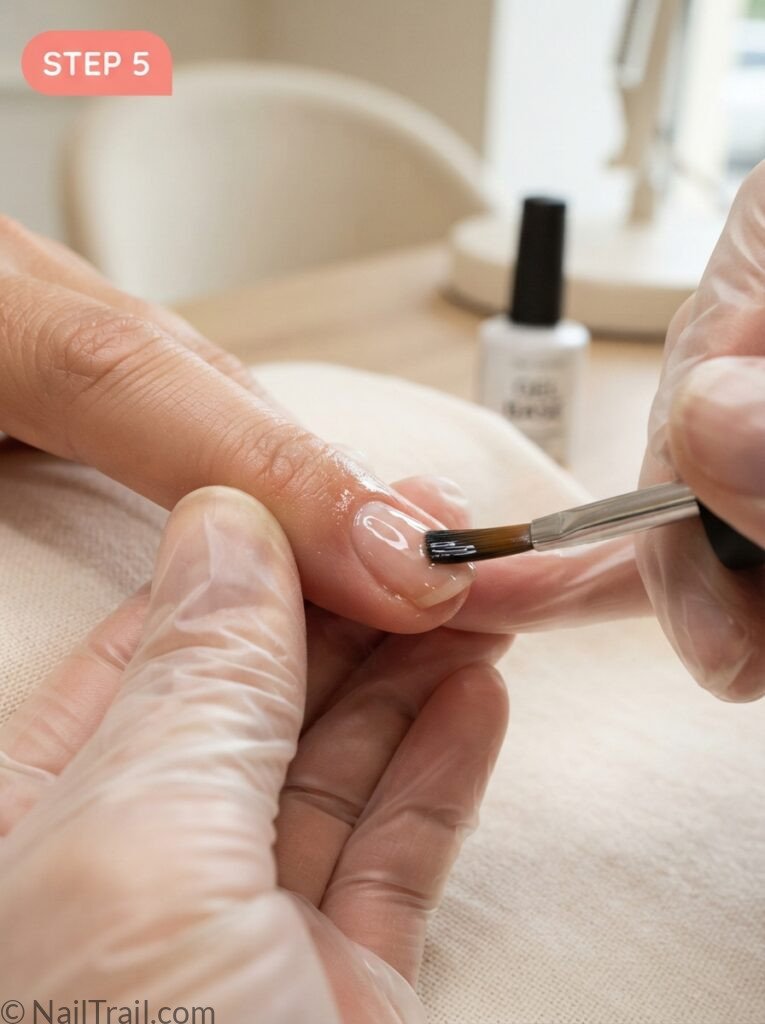
Apply one thin, even coat of base coat and cure or let it dry according to the product’s instructions. This step is especially important for bold or saturated trending shades like deep reds and inky blacks, since base coat prevents these pigments from staining your natural nail.
💅 Pro tip — Never skip base coat with dark or pigmented trending colors — the more saturated the shade, the more likely it is to leave a yellow or gray stain on bare nails without this protective layer.
Step 6 — Apply the Trending Color
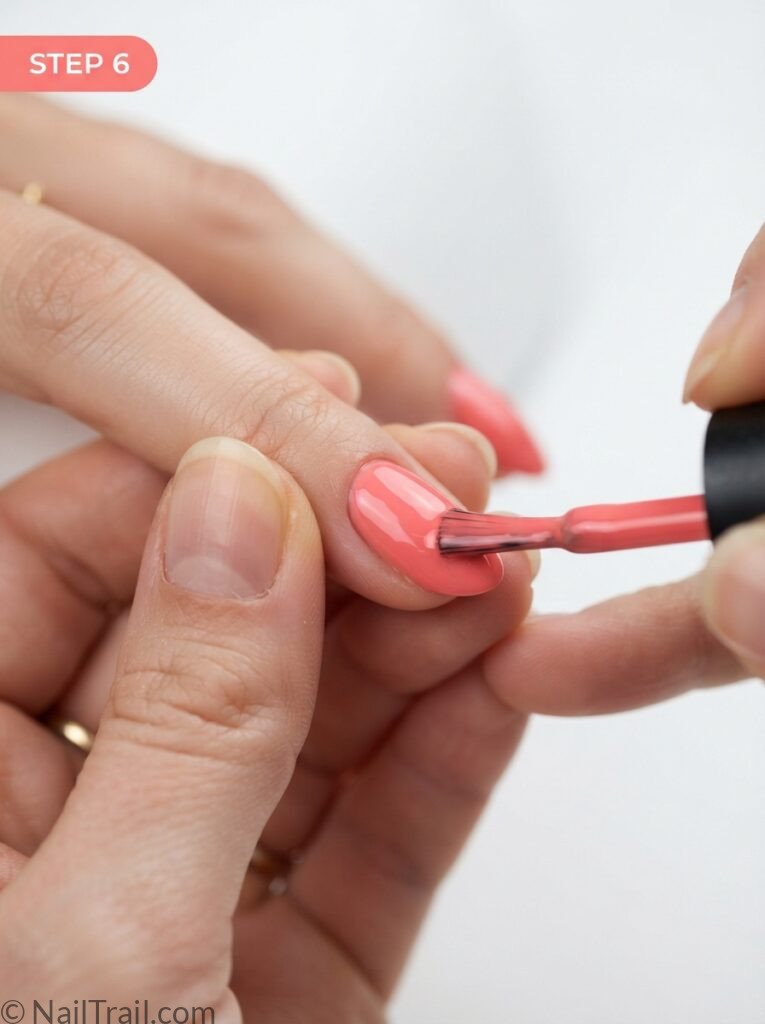
Apply your chosen trending shade in two thin coats rather than one thick one, letting each coat dry or cure fully before the next. Two thin coats almost always look more even and true to the swatch you tested than a single heavy coat, which tends to streak or pool at the cuticle. For more shade inspiration, browse our nail trends 2026 roundup.
💅 Pro tip — Wipe excess polish off the brush against the bottle neck before each stroke — a loaded brush is the most common reason trending shades pool unevenly near the cuticle line.
Step 7 — Seal with Top Coat
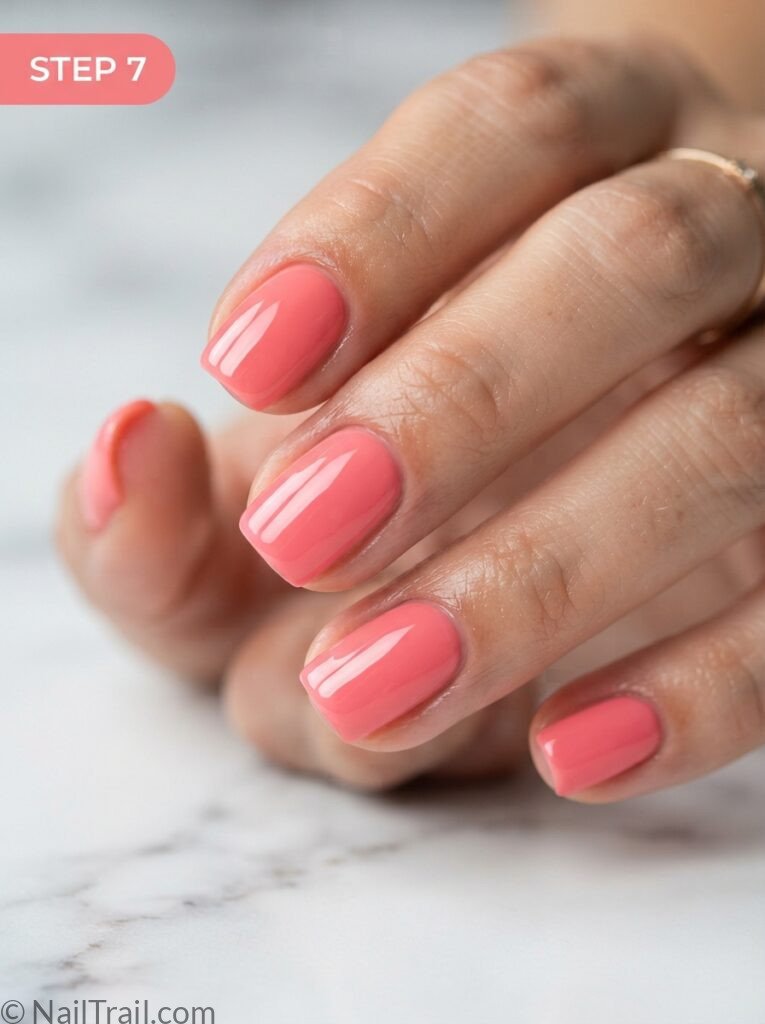
Apply one even coat of glossy top coat over the fully cured or dried color, capping the free edge. This is what gives any trending shade that salon-level shine and also protects the color from chipping, keeping it looking as true to the trend as day one.
💅 Pro tip — Cap the free edge with top coat every time you reapply — the tip takes the most daily friction, so resealing it regularly is what keeps a trending color chip-free the longest.
Common Mistakes to Avoid
Judging a color from the bottle instead of swatching it on the actual nail bed first
Applying trending colors in artificial indoor lighting only, without checking how they read in natural daylight
Skipping base coat with bold or dark saturated shades, which leads to staining on the natural nail
Applying one thick coat instead of two thin ones, which causes streaking and uneven pigment
If a trending color you picked still looks off once applied, the issue is usually undertone mismatch rather than the shade itself — revisit Step 2 and try a color from the opposite undertone family before giving up on the trend entirely.
Color Ideas to Try
Once you know your undertone, trending shades become much easier to shop for — cool undertones tend to look striking in a deep chrome finish or a rich berry red, while warm undertones lean beautifully into gold nail ideas or a soft terracotta. Neutral undertones can pull from nearly anywhere, so a French tip in this season’s trending color is always a safe and stylish choice.
Final Thoughts
Picking a trending color isn’t about chasing every shade you see online — it’s about knowing which ones actually work with your undertone and applying them the right way so they look as good on day five as they did on day one. Swatch first, prep well, and keep your coats thin. Browse our full nail trends 2026 roundup for more shades worth trying this season! 💅✨
