





This post may contain affiliate links. Please read my disclosure policy.
In This Article Show
Cat eye toe nails look like a salon specialty but honestly the whole magnetic shine effect comes down to timing and technique. This step by step tutorial walks you through exactly what you need and exactly how to get that shifting shimmer line perfectly every single time — and if you love the look, it works just as beautifully on hands too, check our cat eye nails for more inspiration there.
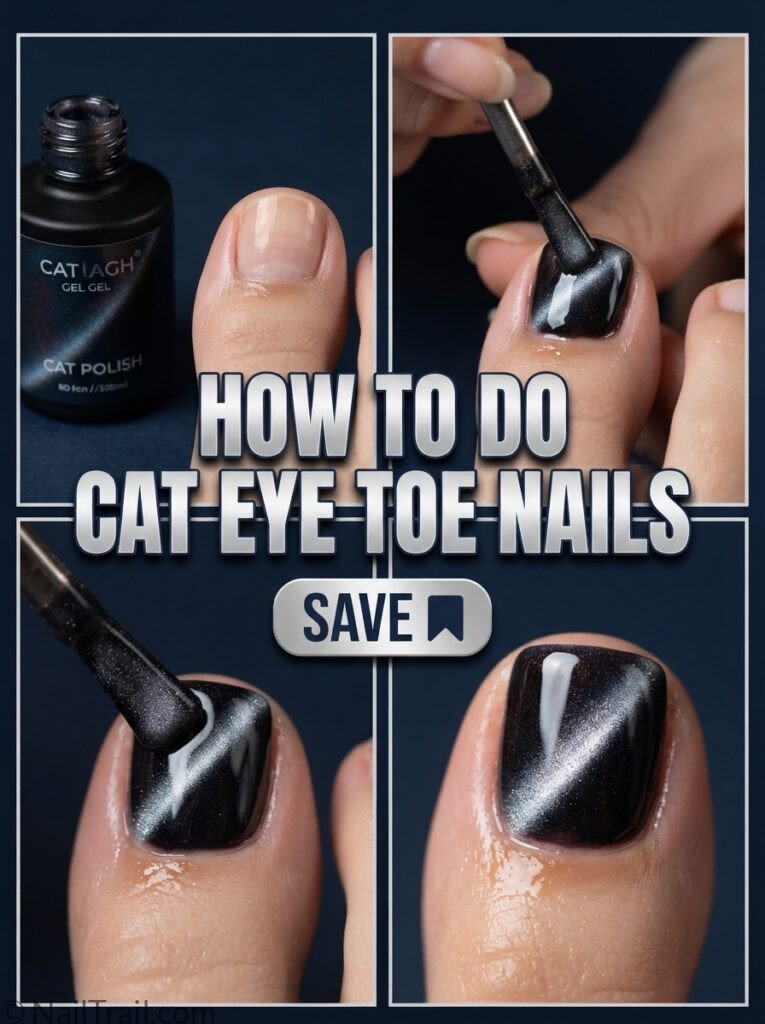
Cat eye toe nails that shifting shimmer line is easier to get right than it looks — here’s exactly how to do cat eye toe nails perfectly at home! 🐾✨
What You’ll Need
Before starting, gather these tools — having everything ready before you begin makes the whole process much smoother since cat eye gel needs to be cured quickly after applying the magnet.

Base Coat Gel
View on Amazon →
Cat Eye Gel Polish Set
View on Amazon →
Magnetic Wand for Cat Eye Nails
View on Amazon →
Toe Nail Separators for Pedicure
View on Amazon →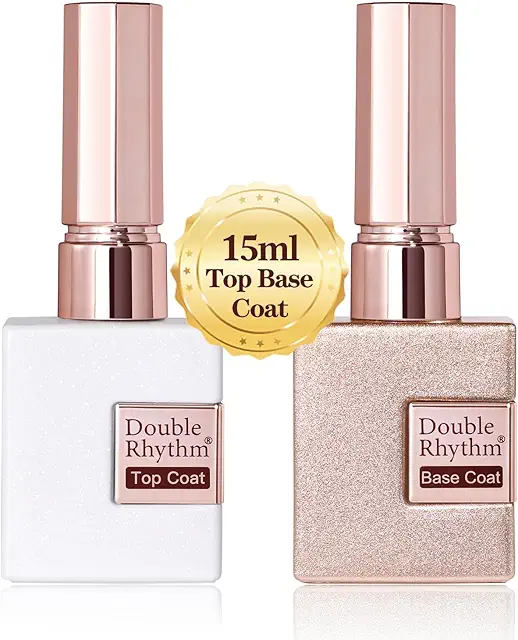
Glossy Top Coat Gel
View on Amazon →Step-by-Step: How to Do Cat Eye Toe Nails
Step 1 — Prep the Toe Nails
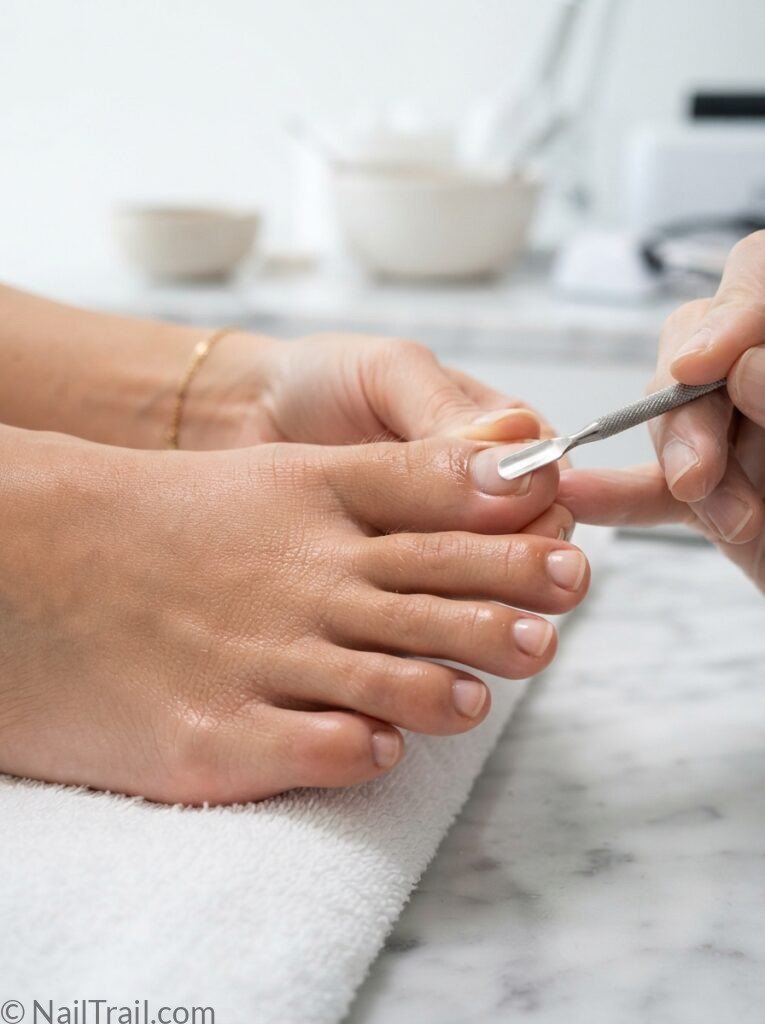
Trim and shape each toe nail into a short square shape then gently push back the cuticles with a cuticle stick. Buff the surface lightly to remove shine and wipe with rubbing alcohol to remove any oils — this step matters more than people think because cat eye gel needs a completely clean dry surface to bond properly and last without lifting. If you want a different shape, check our square nail ideas for inspiration before you start.
💅 Pro tip — Use toe separators from this step onward, not just during polish application — keeping toes apart the entire time prevents accidental smudges during every stage of the process.
Step 2 — Apply the Base Coat

Apply one thin even coat of base coat gel to each toe nail and cure under a UV or LED lamp according to the product instructions, usually 30-60 seconds. Never skip this step — base coat protects your natural nail from staining and gives the cat eye gel something even to grip onto.
💅 Pro tip — Cap the free edge of the nail with base coat too, not just the top surface — sealing the tip prevents peeling on toe nails which take more daily friction inside shoes than fingernails do.
Step 3 — Apply the Cat Eye Gel Polish
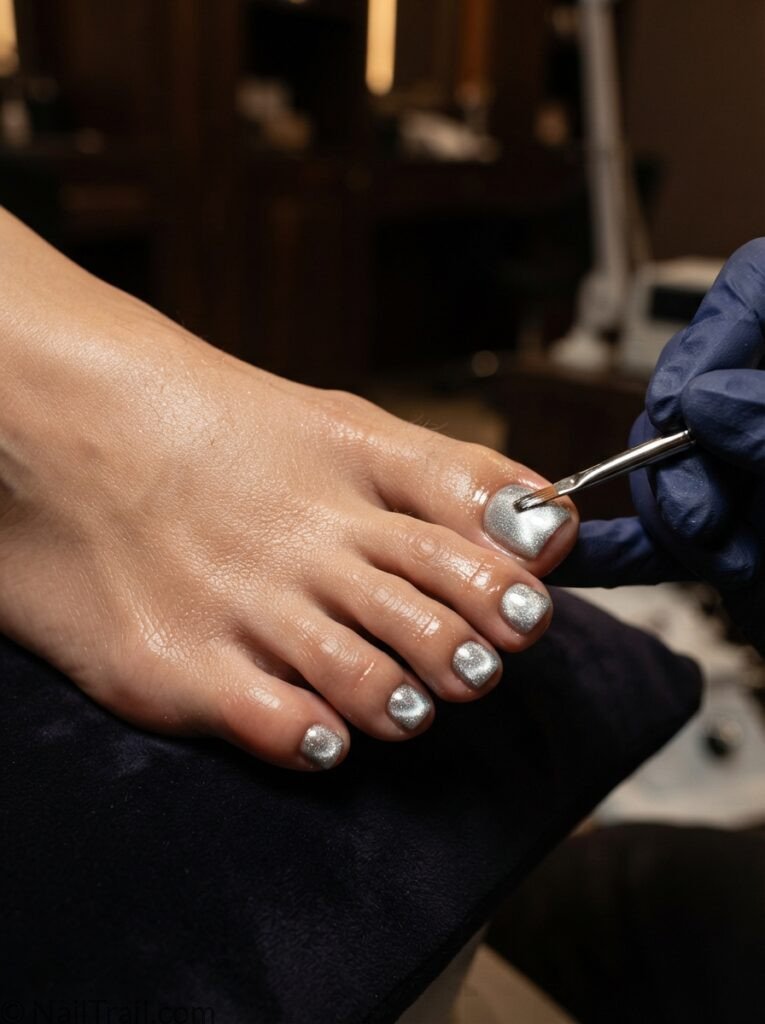
Apply one even coat of cat eye gel polish to the nail — do not cure yet. The magnetic particles suspended in the gel need to still be wet and mobile for the next step to work, so this is the point where timing starts to matter most. Silver is the most classic starting shade, though our chrome nail ideas page has plenty of metallic finish inspiration too.
💅 Pro tip — Shake or stir the cat eye gel bottle well before every single application — the magnetic particles settle at the bottom quickly and an unmixed bottle gives a weak barely-visible shine line.
Step 4 — Apply the Magnet
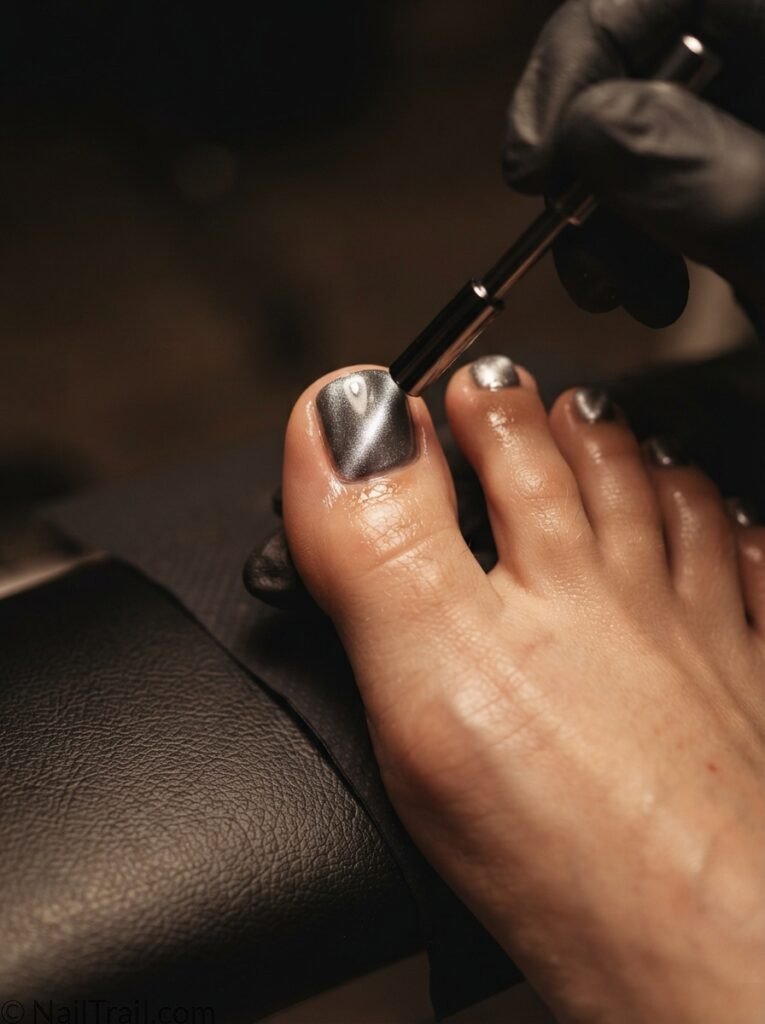
Hold the magnetic wand about half an inch above the wet nail without touching it, positioned at the angle you want the shine line to run. Hold steady for about 10 seconds — this is the exact moment the magnetic particles pull toward the wand and align into that signature shifting cat eye line.
💅 Pro tip — Never let the magnetic wand touch the wet polish directly — contact drags the particles and ruins the clean line, so always hold it hovering just above the nail surface.
Step 5 — Cure Under the Lamp
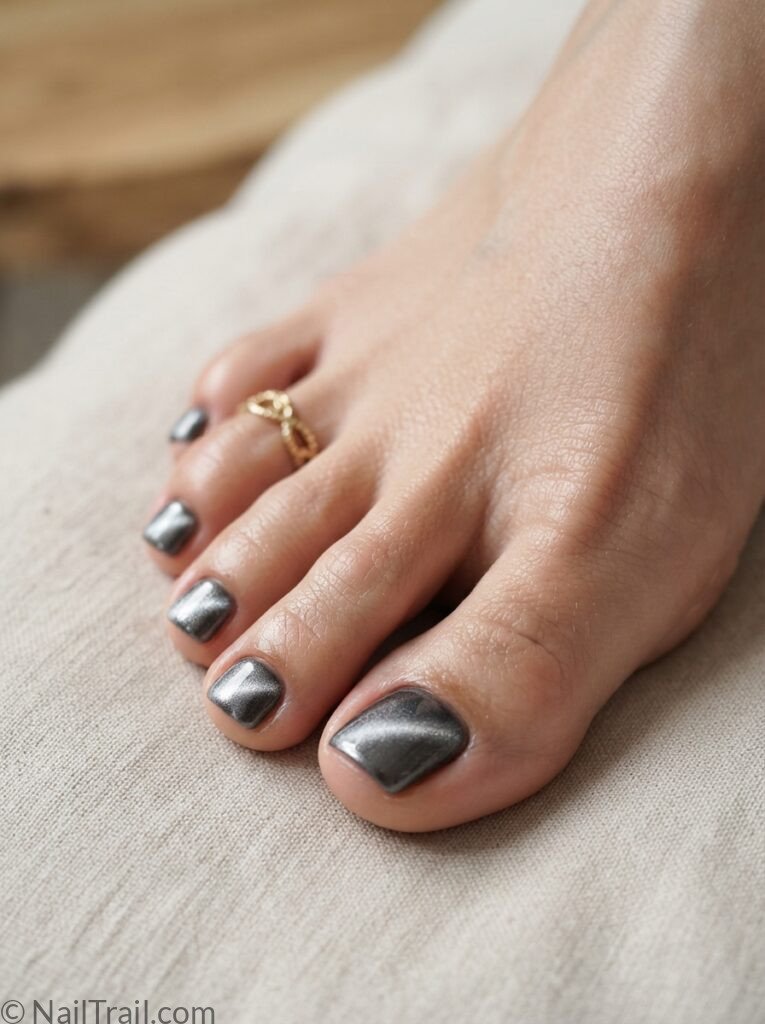
Move the toe directly under your UV or LED lamp immediately after removing the magnet and cure for the full time listed on your gel polish, typically 30-60 seconds. Curing locks the magnetic particles in place exactly where the wand pulled them.
💅 Pro tip — Move from magnet to lamp as quickly as possible without pausing — even a short delay can let the magnetic particles start to shift back out of position before curing locks them in.
Step 6 — Seal with Glossy Top Coat
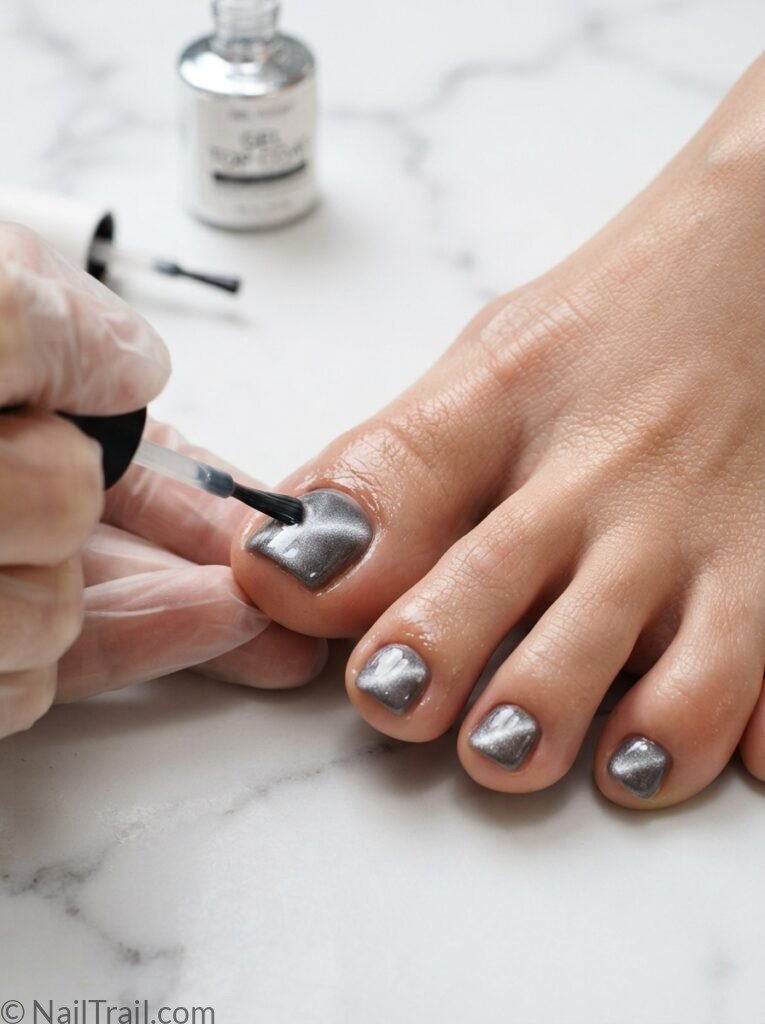
Apply one even coat of glossy top coat gel over the fully cured cat eye design and cure again under the lamp. This step is what gives cat eye nails that glass-like depth and also protects the design from chipping — the same finishing trick used across our gel nail ideas for that long-lasting salon shine.
💅 Pro tip — Cap the free edge with top coat one final time after curing — this last seal is what keeps toe nail tips from chipping first since they take the most contact inside closed shoes and sandals.
Common Mistakes to Avoid
- Touching the magnet to the polish — this drags the particles and blurs the line instead of creating a sharp shift
- Curing too early — if you cure before applying the magnet, the particles are already locked in a flat pattern and no line will form
- Skipping the shake step — settled magnetic particles give a weak barely-there shine no matter how well you hold the magnet
- Rushing between magnet and lamp — any delay lets the particles start to settle back before they’re locked in place
If your cat eye still looks patchy after all this, the base color underneath may be part of the issue — browse our nail painting ideas for tips on getting a smoother base every time.
Color Ideas to Try
Once you’ve got the technique down, cat eye gel comes in plenty of colors worth trying — classic silver on a dark grey base for the timeless look, hot pink or emerald green for something bold, or a soft nude with a gold line for an elegant everyday finish. For more color inspiration browse our nail trends 2026 and gold nail ideas.
🎬 Watch: Cat Eye Toe Nails Tutorial
Watch this full video tutorial alongside the written steps below for the clearest look at the magnet technique in action.
Final Thoughts
That’s really all it takes to get salon-quality cat eye toe nails at home — the whole trick is in the magnet timing and moving quickly from magnet to lamp. Practice on one toe first if you’re new to the technique, then apply it across the rest once you’ve got the angle down. Browse our full toe nails inspo for more pedicure tutorials worth trying! 🐾✨