
Gel nails look like a salon job but the truth is you can get that same glossy, chip-free finish at home once you know the right order to do things in — from prepping your natural nail all the way through curing and sealing, every step matters more than people realize when it comes to how long the manicure actually lasts. Here’s exactly how to do gel nails at home step by step! 💅✨
Some links below are affiliate links — if you shop through them, I earn a small commission at no extra cost to you! 💅
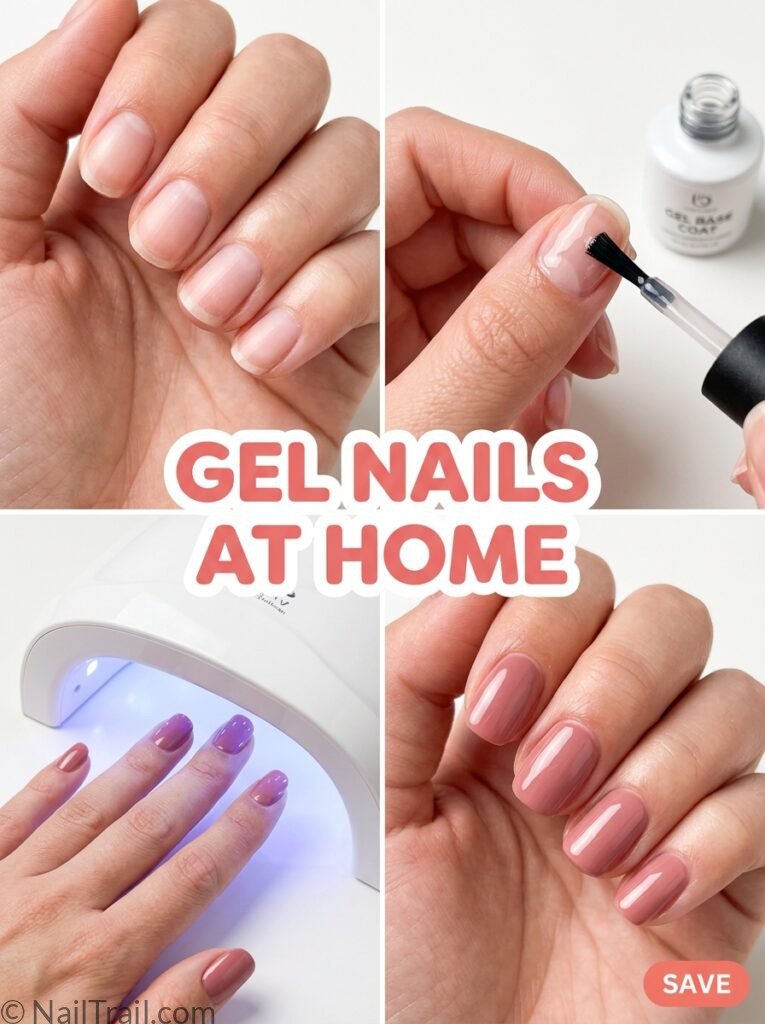
🎬 Watch: Gel Nails at Home Tutorial
Watch this full video tutorial alongside the written steps below for the clearest look at each stage of the process.
What You’ll Need
Before starting, gather these tools — having everything within reach before you begin makes the whole process smoother since gel needs to be cured quickly after each coat.

Gel Nail Base Coat
View on Amazon →
Gel Polish Color Set
View on Amazon →
Gel Top Coat (Glossy)
View on Amazon →
UV/LED Nail Curing Lamp
View on Amazon →
Nail Prep Kit (Buffer + Cleanser)
View on Amazon →
Cuticle Pusher Tool
View on Amazon →Step-by-Step: How to Do Gel Nails at Home
Step 1 — Setup
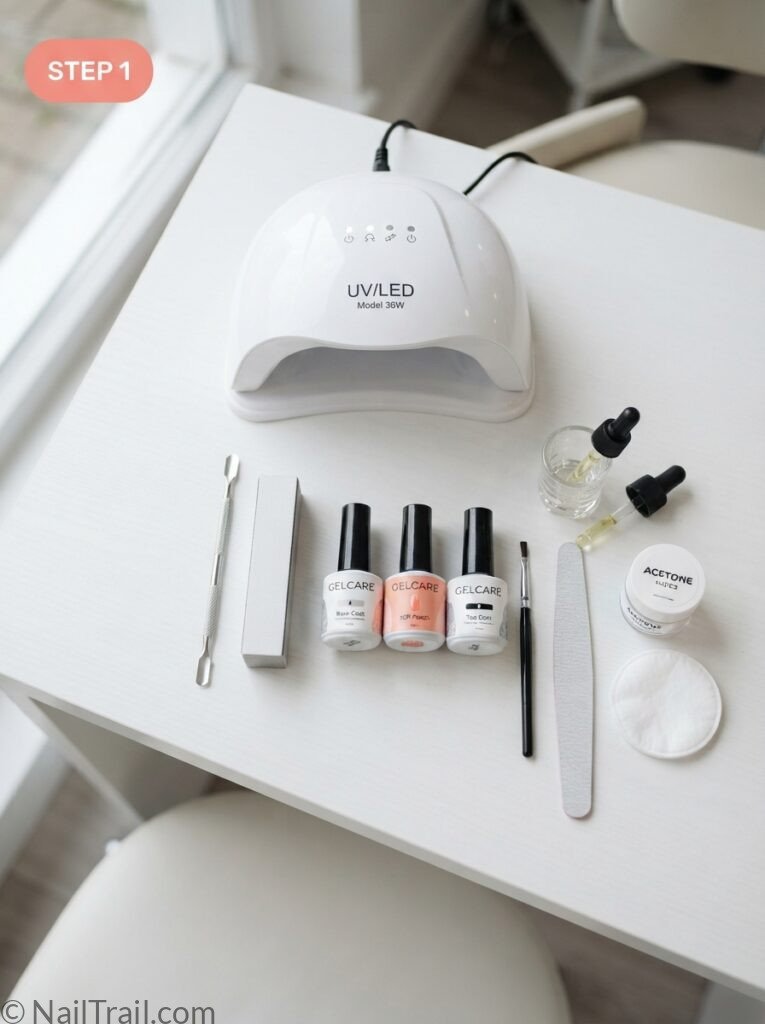
Before touching your nails, set up your workspace so nothing slows you down mid-process — plug in and turn on your UV or LED lamp so it’s ready to go, and lay out your base coat, color, top coat, buffer, cuticle pusher, and alcohol wipes within easy reach. Gel needs to be cured quickly after each coat, so having everything positioned and ready before you start is what keeps the whole process smooth instead of scrambling for a tool with wet polish on your hands.
💅 Pro tip — Position your lamp directly in front of you rather than to the side — a lamp within easy reach means less time between finishing a coat and curing it, which matters more than people think for a clean, even result.
Step 2 — Prep the Nails
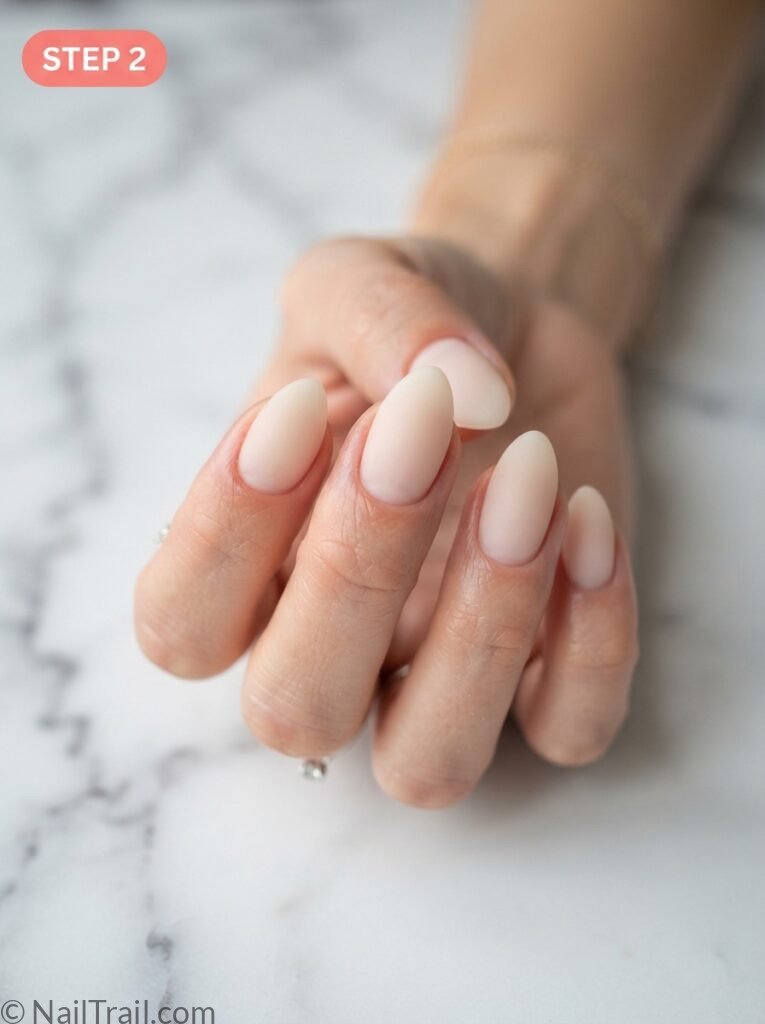
Push back your cuticles gently with a cuticle pusher tool, then shape and file each nail into your preferred shape — almond, square, and coffin all take gel polish equally well so this step really comes down to personal preference. Buff the surface lightly to remove shine and wipe every nail with an alcohol cleanser pad to strip away oils and leftover lotion residue. This step matters more than people realize because gel polish needs a completely clean, dry surface to bond properly and last without lifting or peeling early, and it’s the single biggest reason at-home gel manicures fail within the first week. If you’re deciding on a shape first, our different types of nails guide breaks down which one suits you best.
💅 Pro tip — Buff in one direction only rather than back and forth — this keeps the nail surface even instead of creating tiny ridges that show through the gel color.
Step 3 — Apply the Base Coat
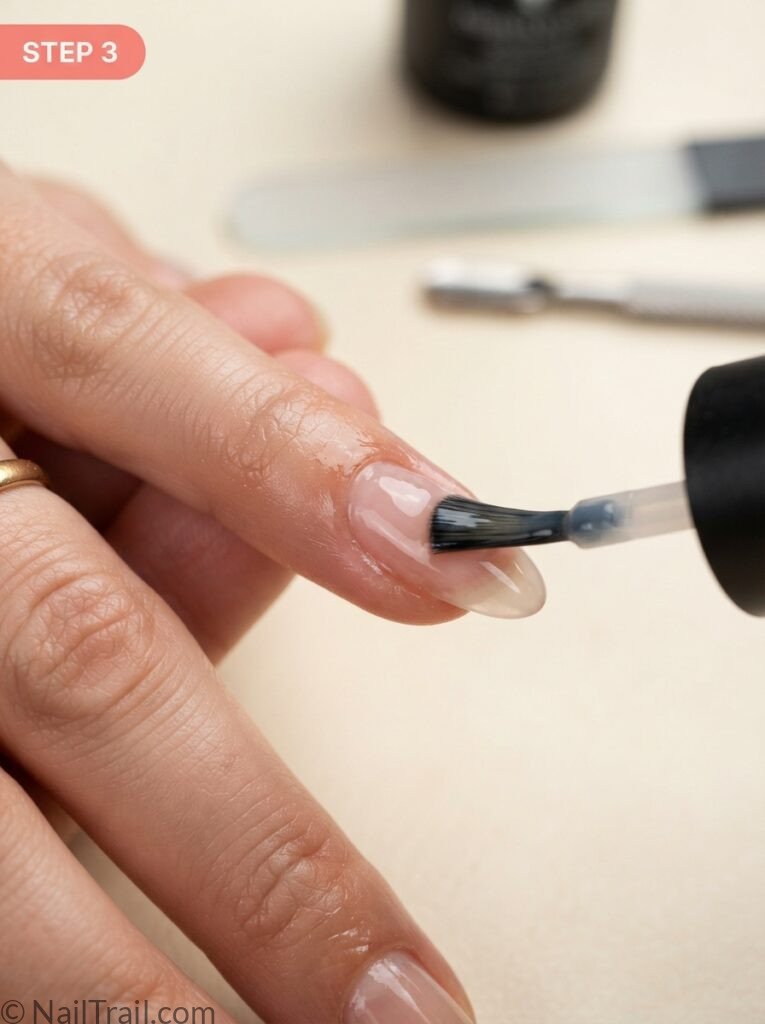
Apply one thin, even coat of gel base coat to each nail, making sure to cap the free edge at the tip where your nail ends, then cure under your UV or LED lamp according to the product’s instructions, usually 30-60 seconds depending on the wattage of your lamp. Never skip this step — base coat protects your natural nail from staining, especially with darker or more pigmented gel colors, and it also gives the color coat something even and tacky to grip onto so it cures smoothly instead of pooling unevenly.
💅 Pro tip — Keep the coat thin — a base coat applied too thick takes longer to cure fully and is more likely to lift at the edges within the first few days.
Step 4 — Apply the Gel Color
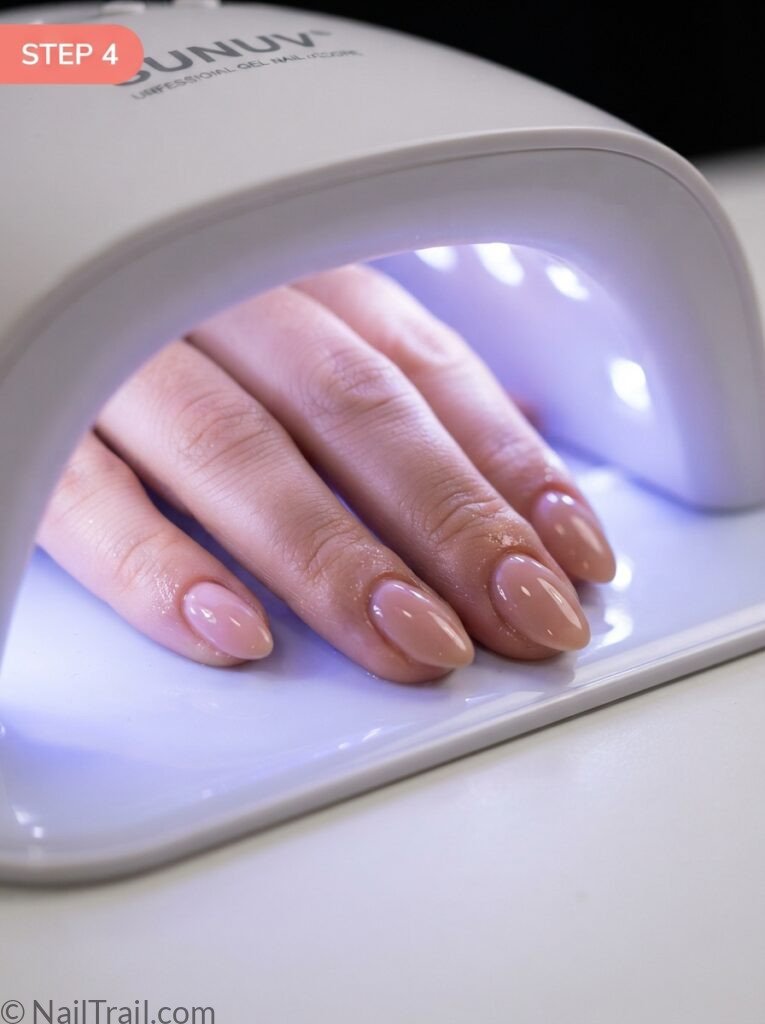
Apply one thin coat of your chosen gel polish color, again capping the free edge, and cure under the lamp for the time listed on the bottle. Once cured, apply a second thin coat for full, even color coverage and cure again — two thin coats almost always look smoother and more opaque than one thick one, which tends to streak and cure unevenly in the center. If you want color inspiration before you start, browse our nail trends 2026 or gel nail ideas for what’s popular right now.
💅 Pro tip — Wipe the brush against the neck of the bottle before each stroke — too much polish on the brush is the most common reason gel color pools at the cuticle line.
Step 5 — Seal with Top Coat
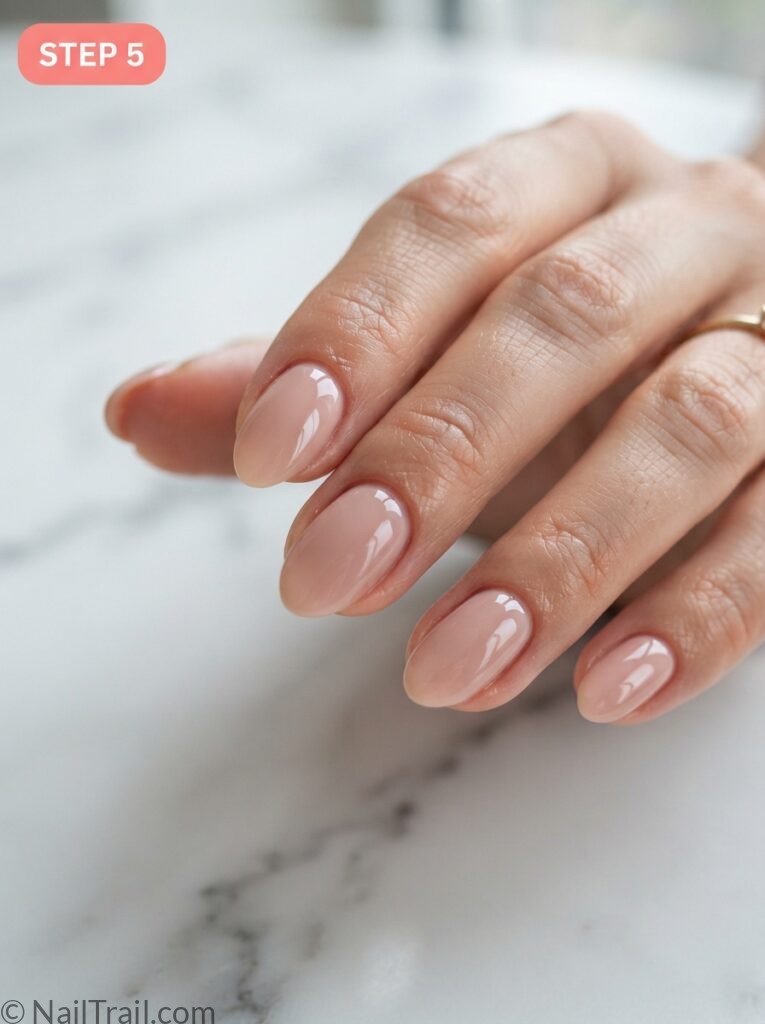
Apply one even coat of glossy gel top coat over the fully cured color, capping the free edge one final time, and cure under the lamp for the full time listed. This is the step that gives gel nails their signature glass-like shine and depth, and it’s also what protects the color underneath from chipping and scratching during everyday tasks like typing or washing dishes.
💅 Pro tip — Wipe each nail with an alcohol pad after this final cure — it removes the tacky residue layer gel top coats leave behind and reveals the true glossy finish underneath.
Step 6 — Moisturize and Finish
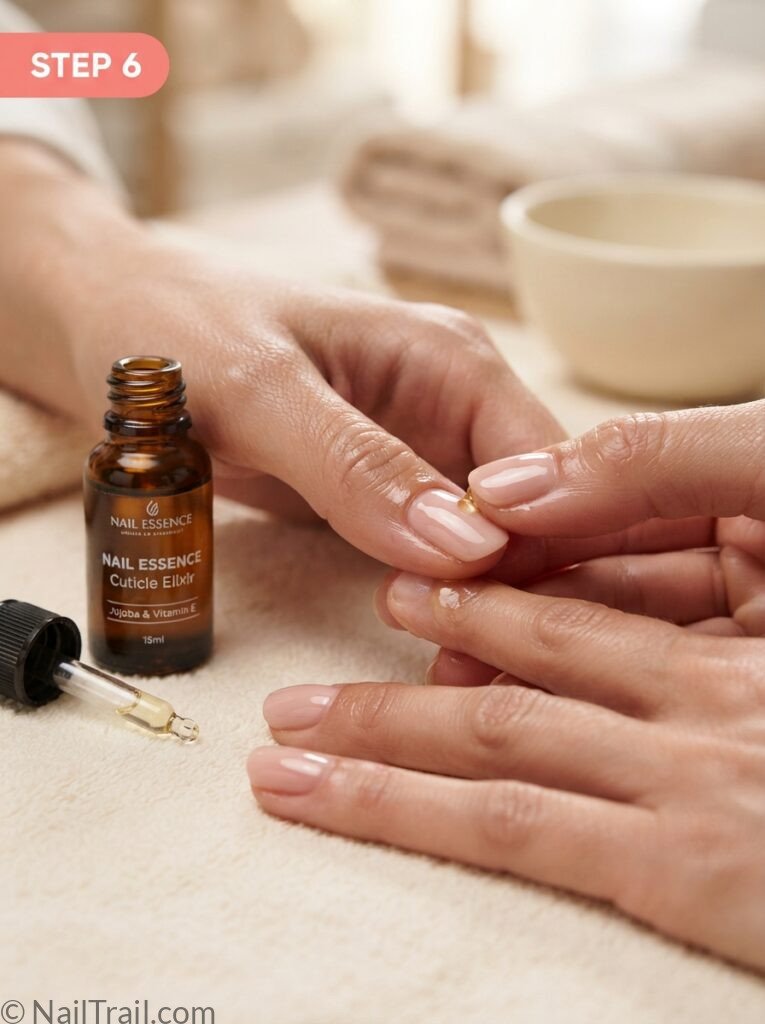
Once the top coat is fully cured and wiped clean of any tacky residue, massage cuticle oil into the base of each nail and around the cuticles until it fully absorbs. Gel application, curing under UV light, and the alcohol used to prep and clean nails can all dry out the surrounding skin, so this last step keeps everything looking healthy and hydrated rather than just focusing on the nail itself.
💅 Pro tip — Reapply cuticle oil daily for the first week — nails that stay hydrated around the edges are far less likely to develop early lifting.
Common Mistakes to Avoid
Applying coats too thick — thick layers cure unevenly and lift sooner than thin, even ones
Skipping the alcohol wipe before polish — leftover oils are the number one cause of early lifting
Not capping the free edge — leaving the tip uncapped is where most chipping starts first
Under-curing — always cure for the full time listed, since a few seconds short can leave the gel soft underneath a hard top layer
If your gel nails keep lifting despite following every step, the base color underneath may be part of the issue — our nail painting ideas has tips for getting a smoother base every time.
Color and Design Ideas to Try
Once you’ve got the basic technique down, gel opens up a lot of design options beyond a plain solid color — a clean French tip for a classic timeless look, a soft chrome finish for extra reflective shine, or a bold seasonal color straight from our nail trends 2026 roundup. Simple designs like polka dots or a single accent nail are also easy to layer on top of a solid gel base without needing any extra tools or advanced technique.
Final Thoughts
That’s really the whole process — the key is thin, even coats and curing fully at every single stage rather than rushing ahead to save time, since rushed steps are what cause most lifting and chipping within the first few days. Practice on one hand first if this is your first time doing gel nails, then apply what you’ve learned to the other hand once you’re comfortable with the timing and technique. Browse our full nail inspo collection for more manicure ideas to try once your gel skills are down! 💅✨
