
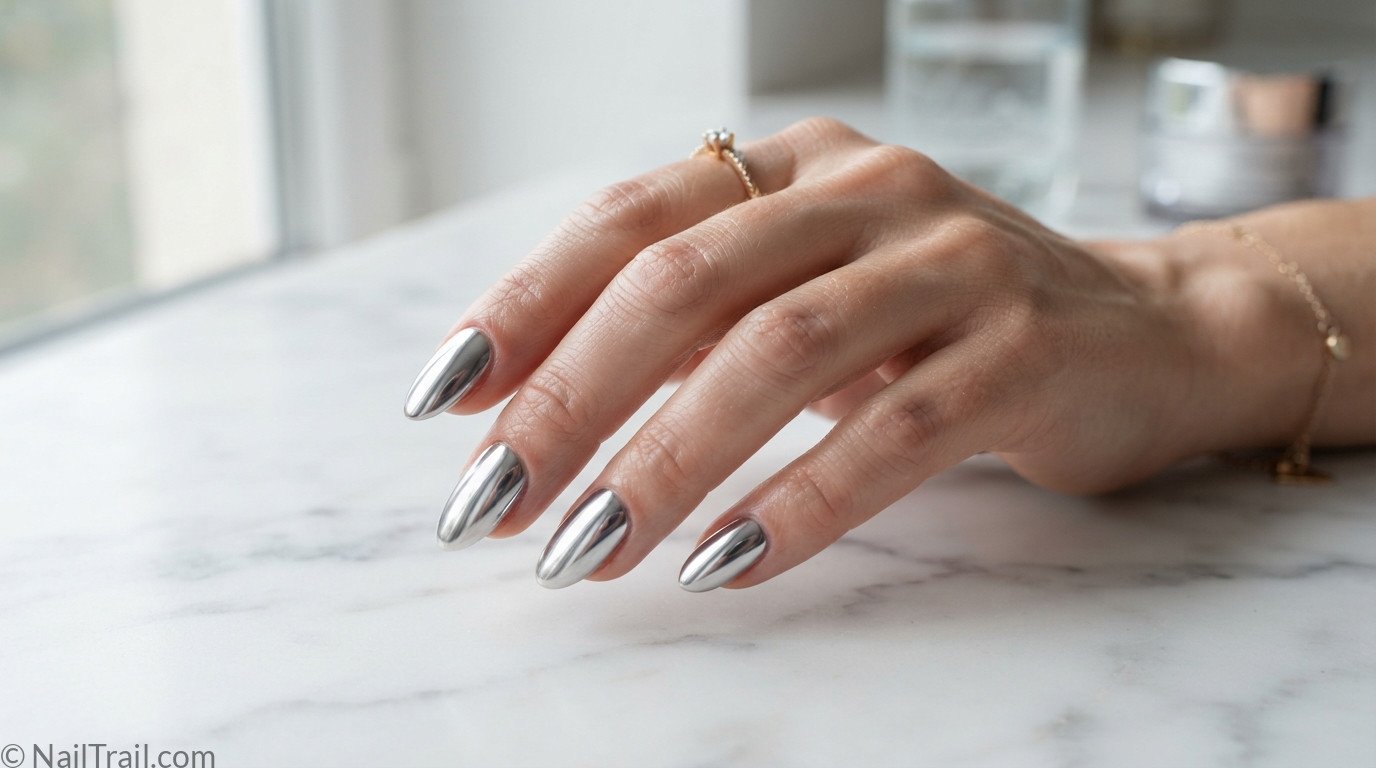
That mirror-like metallic shine on chrome nails looks like something only a salon could pull off, but the truth is it comes down to a completely matte base and a few small application details most people skip. Once you know the right order, chrome powder does almost all the work itself. Here’s exactly how to do chrome nails at home step by step! 💅✨
Some links below are affiliate links — if you shop through them, I earn a small commission at no extra cost to you! 💅
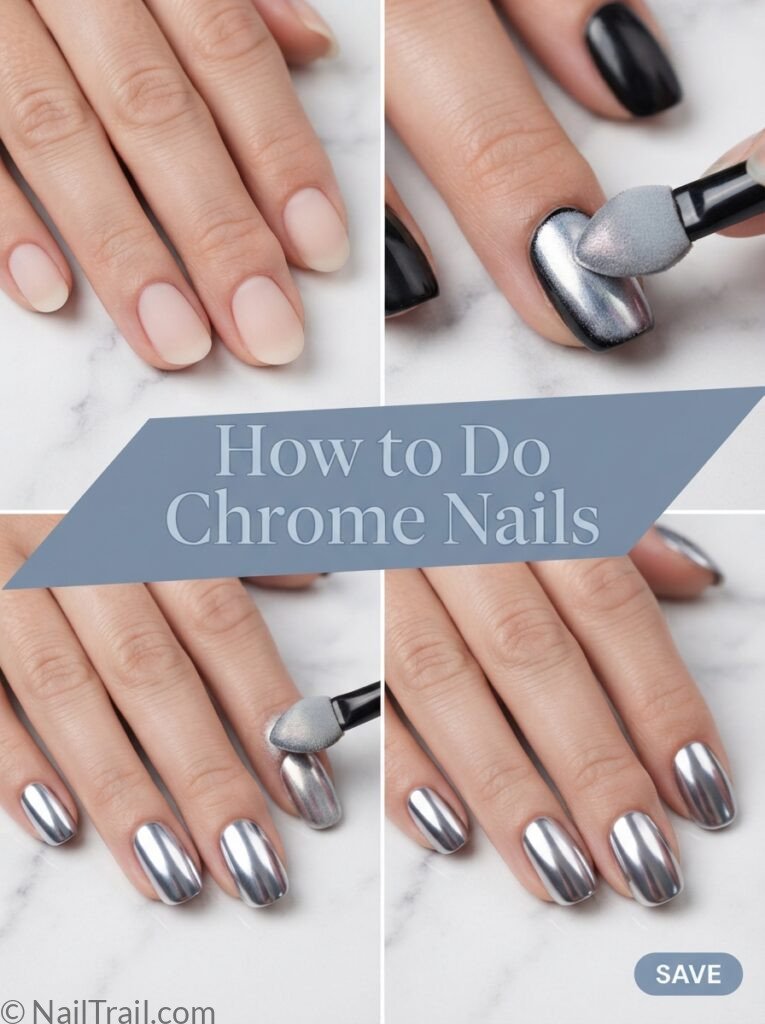
Hook Image Alt Text: Collage showing how to do chrome nails from matte base to mirror-shine finish
🎬 Watch: Chrome Nails Tutorial
Watch this full video tutorial alongside the written steps below for the clearest look at the chrome application technique in action.
What You’ll Need
Before starting, gather these tools — chrome powder needs to be applied over a completely dry, cured base, so having everything ready before you start keeps the process smooth and mess-free.

Gel Nail Base Coat
View on Amazon →
Chrome Powder Set
View on Amazon →
Silicone Chrome Applicator Tool
View on Amazon →
Buffing Block
View on Amazon →
Isopropyl Alcohol Wipes
View on Amazon →
Gel Top Coat (Glossy)
View on Amazon →Step-by-Step: How to Do Chrome Nails
Step 1 — Setup
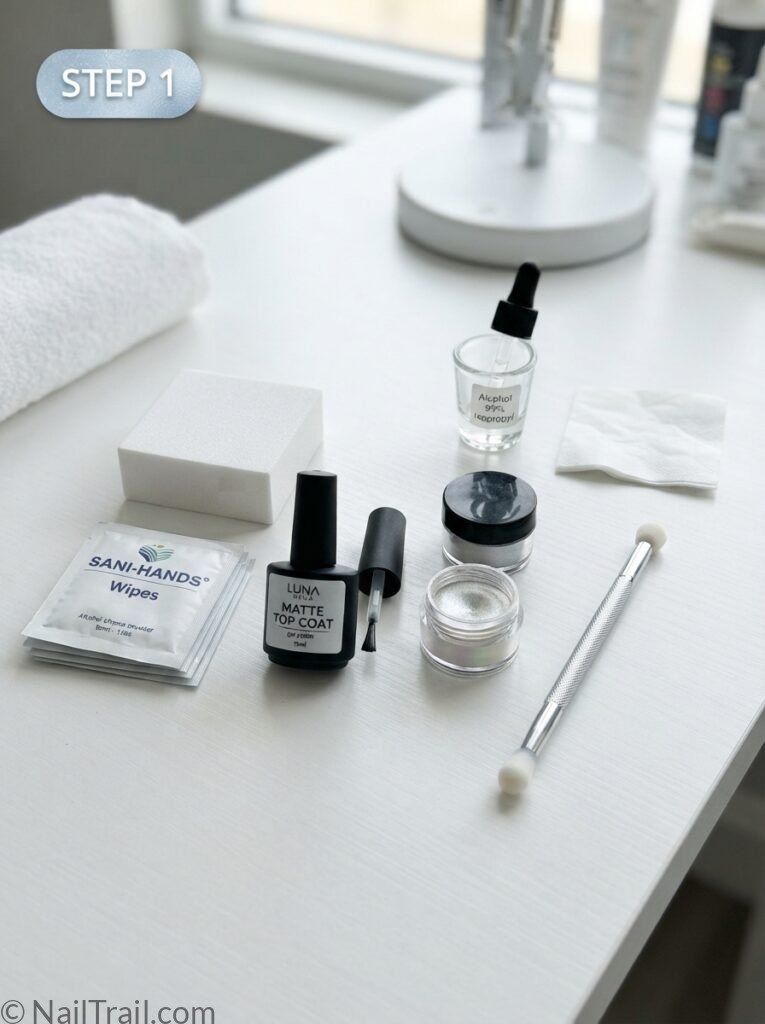
Lay out your matte or gel base coat, chrome powder, silicone applicator, buffing block, and alcohol wipes within easy reach before you start — chrome powder needs to go on immediately after your base is tacky or fully cured depending on your method, so having everything positioned nearby prevents the powder from setting before you can buff it in properly.
💅 Pro tip — Keep a dry, lint-free applicator sponge nearby specifically for cleanup — chrome powder scatters easily and having a dedicated wipe-down tool ready saves you from smudging a freshly buffed nail.
Step 2 — Prep the Nails
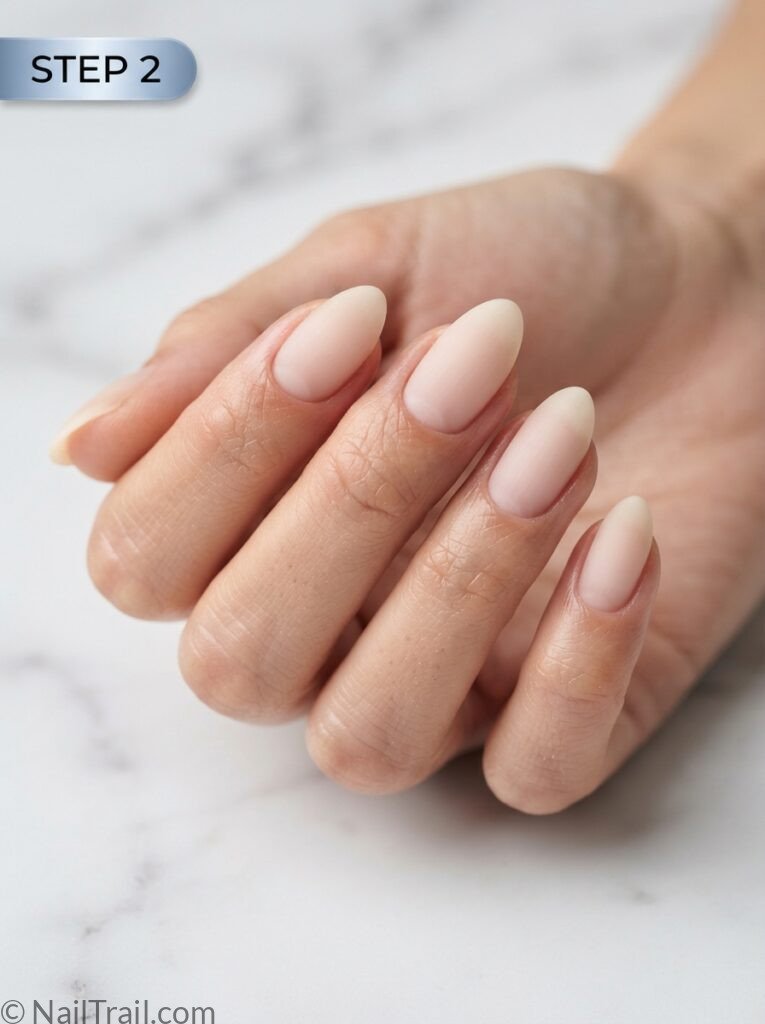
Push back your cuticles, shape and file each nail, then buff the surface lightly and wipe with an alcohol pad to remove oils. Chrome shows every imperfection underneath far more than a regular polish color does, so a smooth, clean nail bed at this stage is what determines how flawless the final mirror finish looks.
💅 Pro tip — Lightly buff the free edge of the nail too, not just the top — chrome reflects light from every angle, so a rough tip will show as a dull patch against the rest of the mirror shine.
Step 3 — Apply the Base Color
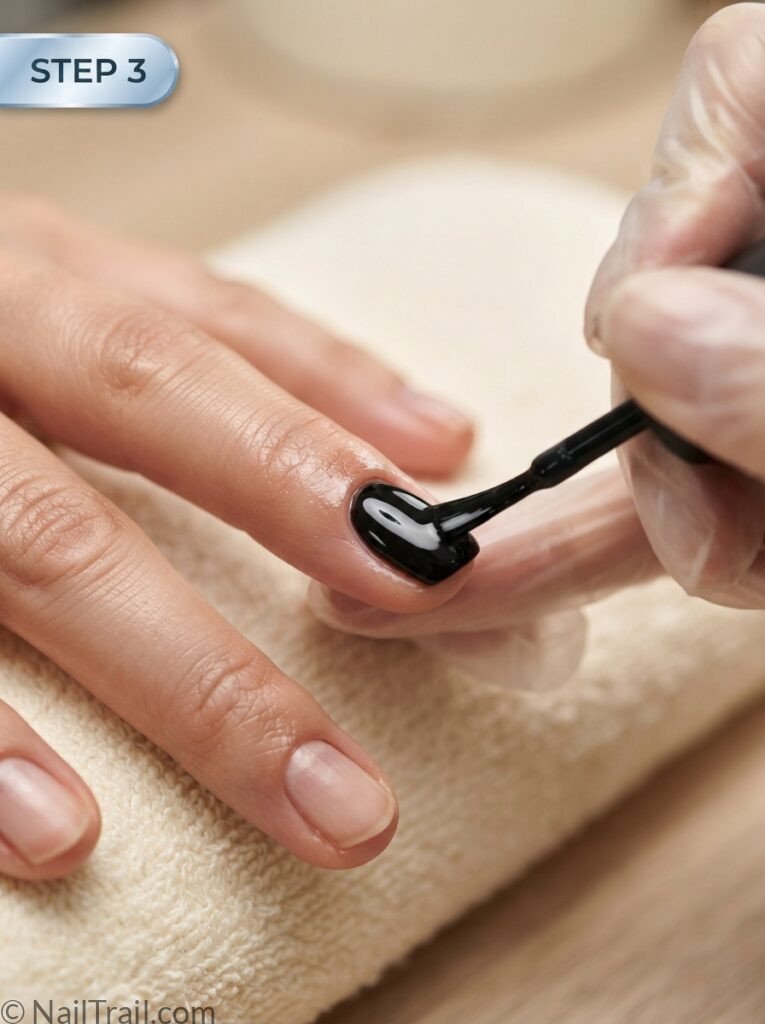
Apply two thin coats of a solid gel color as your base, curing fully between coats — black or white are the most common choices since the base color underneath directly affects how the final chrome color reads, especially with shifting or pearlescent chrome powders. A dark base intensifies the chrome’s depth while a light base makes it look softer and more pastel.
💅 Pro tip — If you want your chrome color to look true to the powder itself rather than shifted darker or lighter, choose a neutral gray base — it reads closest to what you see in the jar.
Step 4 — Apply the No-Wipe Top Coat
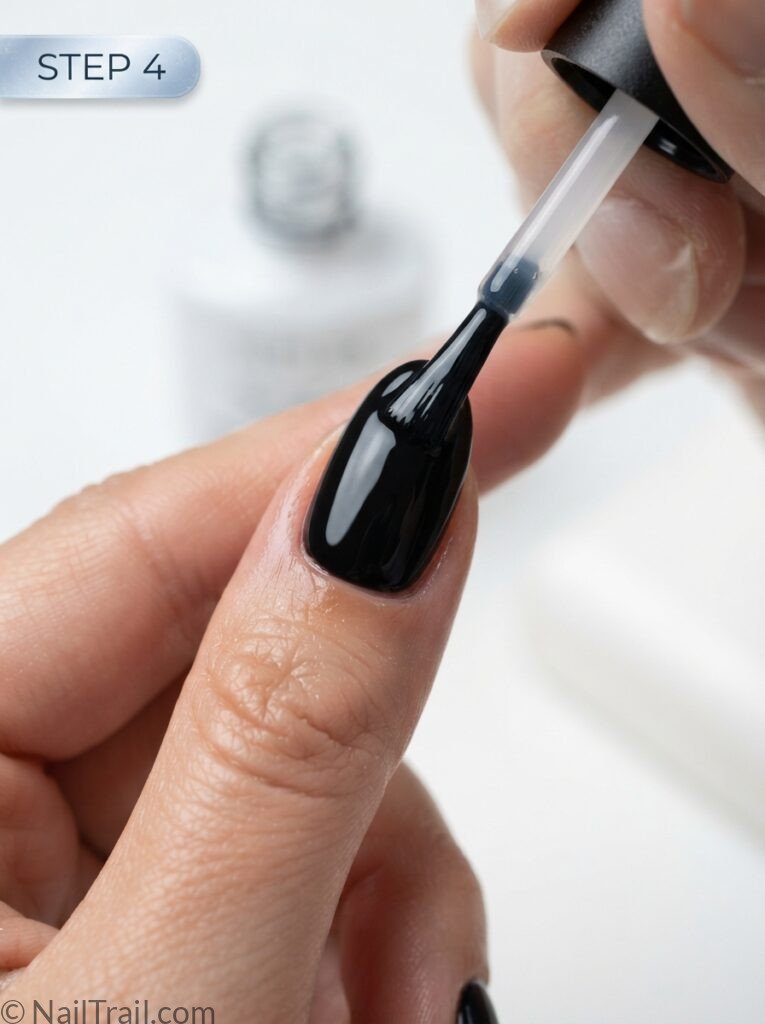
Cure your base color fully, then apply a thin, even coat of no-wipe top coat and cure again. Unlike a regular top coat, this layer stays slightly tacky after curing on purpose — that tackiness is exactly what gives the chrome powder something to grip onto in the next step, so don’t wipe it clean like you would a normal manicure.
💅 Pro tip — Apply the no-wipe top coat as thin as possible — a thick layer stays too wet for the chrome powder to grip evenly and can leave streaky patches once buffed.
Step 5 — Apply the Chrome Powder
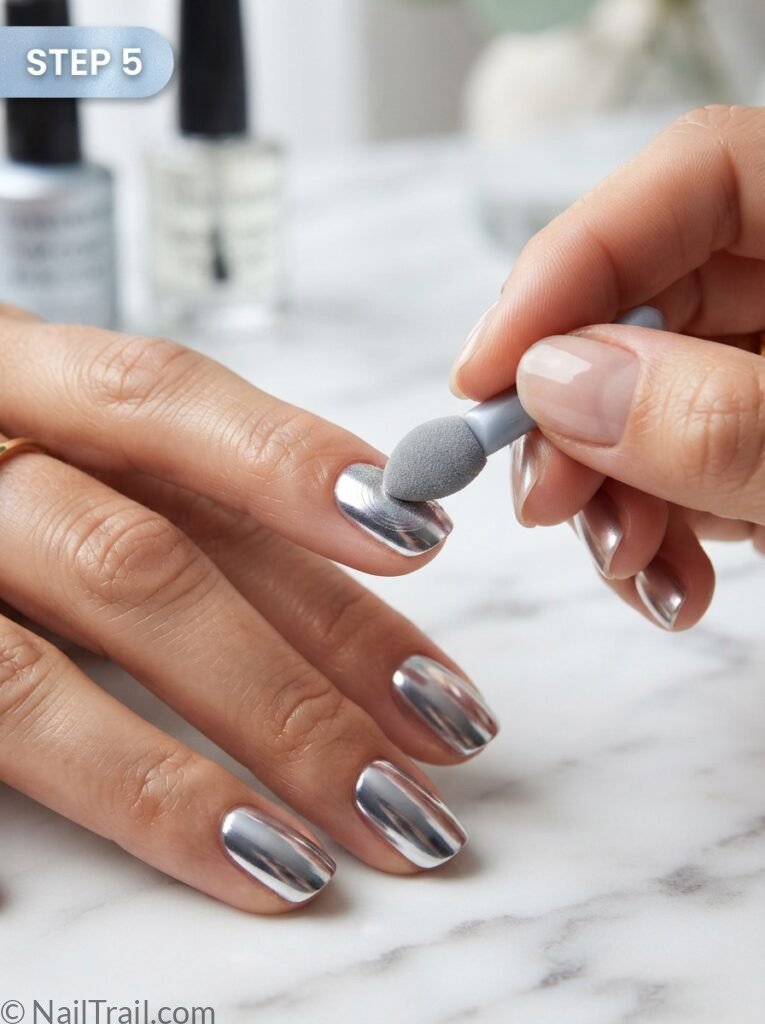
Dip your silicone applicator into the chrome powder and rub it onto the tacky nail in small, firm circular motions until the entire surface reflects light evenly. This is the step where the mirror effect actually forms, and it usually takes just a few seconds per nail once you see the shine come through.
💅 Pro tip — Use firm, consistent pressure rather than light dabbing — pressing the powder in with real pressure is what creates that seamless mirror finish instead of a patchy, uneven shine.
Step 6 — Seal with Top Coat
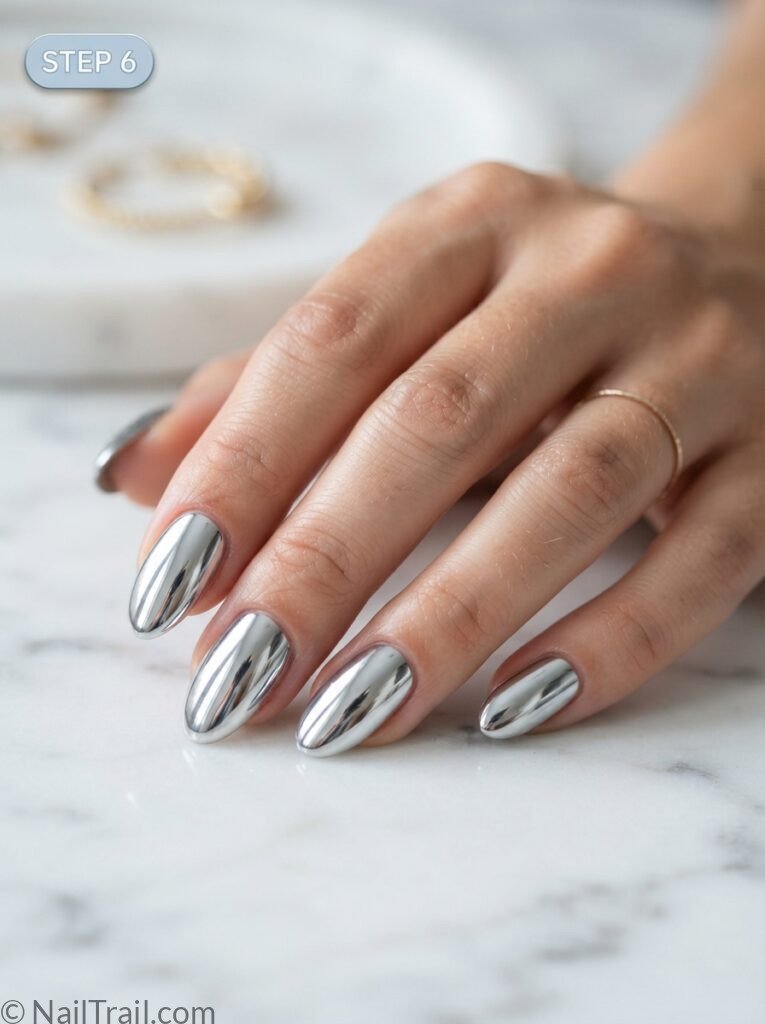
Brush off any excess loose powder with a dry sponge, then apply one thin, even coat of glossy top coat over the chrome and cure. This step locks the chrome in place and protects it from scratching or dulling, which is especially important since chrome finishes show scuffs more visibly than a regular glossy manicure.
💅 Pro tip — File and lightly seal the free edge with top coat before sealing the top surface — the tip is the first place chrome tends to wear off since it takes the most daily friction.
Common Mistakes to Avoid
Wiping the no-wipe top coat clean like a regular top coat, which removes the tackiness the chrome needs to grip
Rubbing the chrome powder on too lightly instead of using firm, even pressure, which leaves a patchy, uneven shine
Skipping the free edge when sealing with top coat, which is the first spot chrome wears off
Choosing a base color without considering how it will shift the final chrome shade, especially with shifting or pearlescent powders
If your chrome finish looks streaky or dull in spots even after buffing evenly, the top coat underneath likely wasn’t tacky enough — a top coat that’s too old, applied too thick, or cured too long can lose its grip before the powder goes on.
Color Ideas to Try
Chrome comes in a lot more variety than just silver — a black base under silver chrome gives the most classic mirror effect, while a nude or clear base under a pearlescent powder creates a softer glazed look similar to our gold nail ideas. For something bolder, try a shifting duo-chrome powder over a dark base for a mermaid-like color-changing effect, or browse our nail trends 2026 roundup for this season’s most popular chrome shades.
Final Thoughts
Chrome nails look intimidating but really come down to one key detail — a properly tacky no-wipe top coat and firm, even pressure when applying the powder. Once you nail that combination, the mirror effect happens almost on its own. Browse our full chrome nail ideas for more shades and finishes worth trying! 💅✨
