
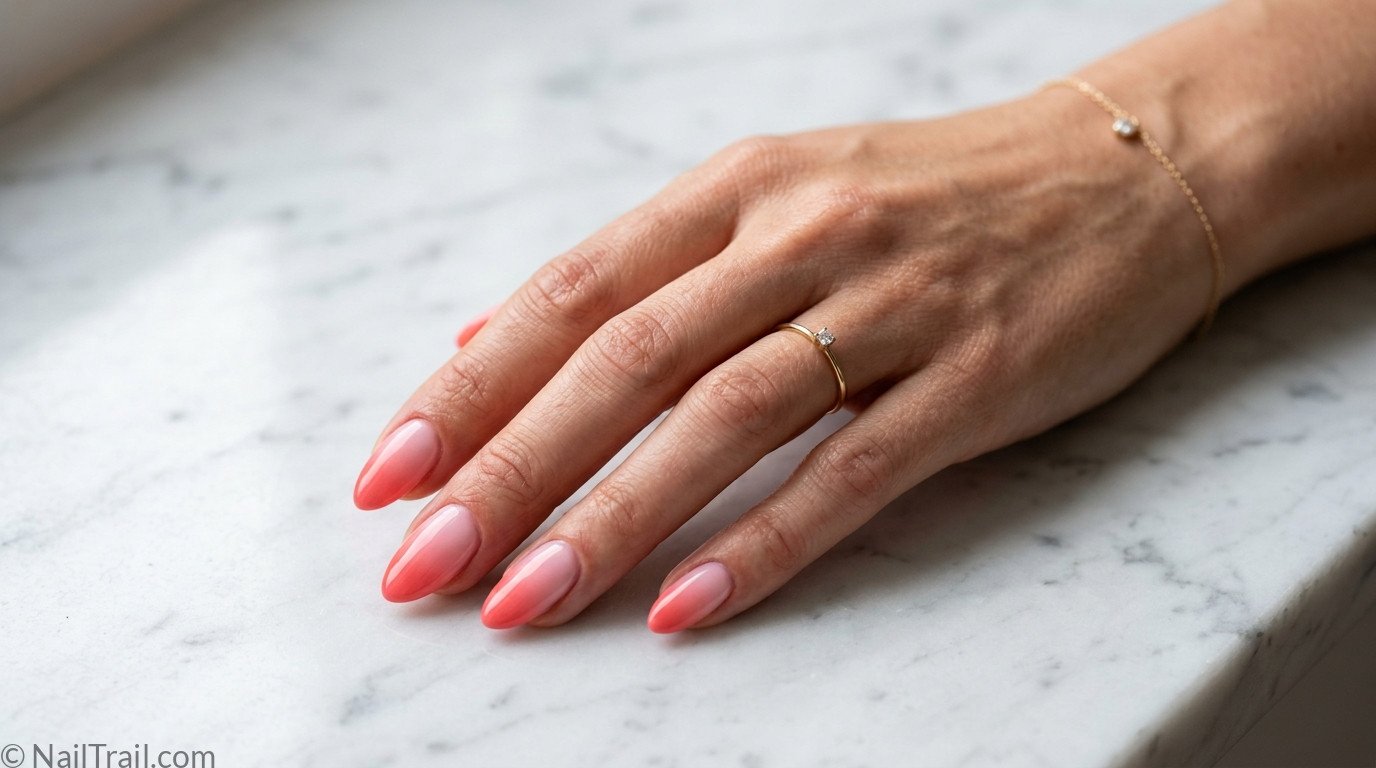
That seamless color fade on ombre nails looks like it needs serious skill, but the sponge technique makes it one of the most beginner-friendly nail art styles out there once you know the layering order — base color first, then a two-tone sponge blend on top. Here’s exactly how to do ombre nails at home step by step! 💅✨
Some links below are affiliate links — if you shop through them, I earn a small commission at no extra cost to you! 💅
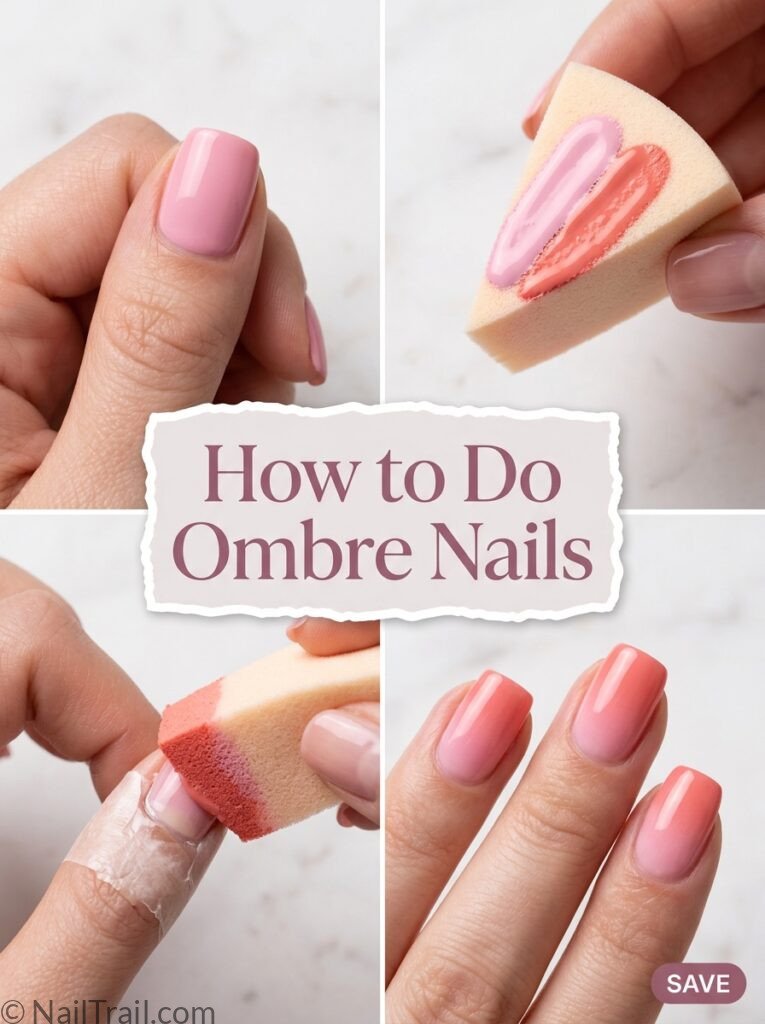
🎬 Watch: Ombre Nails Tutorial
Watch this full video tutorial alongside the written steps below for the clearest look at the sponge blending technique in action.
What You’ll Need
Before starting, gather these tools — the sponge technique moves fast once you start blending color, so having everything ready before you begin keeps the gradient from drying unevenly mid-process.

Natural Nail Base Coat
View on Amazon →
Nail Lacquer Set (Pink + Coral)
View on Amazon →
Wedge Makeup Sponge
View on Amazon →
Masking Tape
View on Amazon →
Top Coat (Glossy)
View on Amazon →You’ll also want a small flat brush for cleanup, which usually comes with your nail art kit or top coat cap.
Step-by-Step: How to Do Ombre Nails
Step 1 — Setup
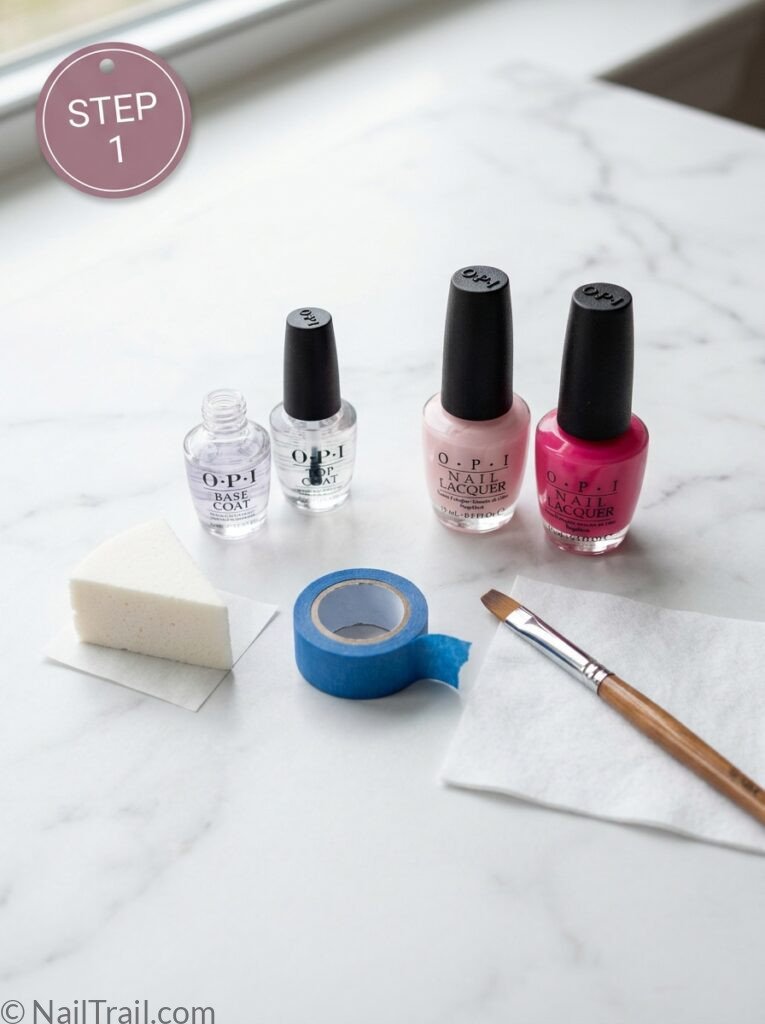
Lay out your base coat, your two chosen nail lacquer colors, a wedge makeup sponge, masking tape, top coat, and a flat brush within easy reach. The sponge technique works best when you can move through each layer without stopping to search for a tool mid-blend.
💅 Pro tip — Tear off your strips of masking tape ahead of time and stick them lightly to the edge of your table — pre-torn tape is much easier to grab quickly once your hands have polish on them.
Step 2 — Prep the Nails
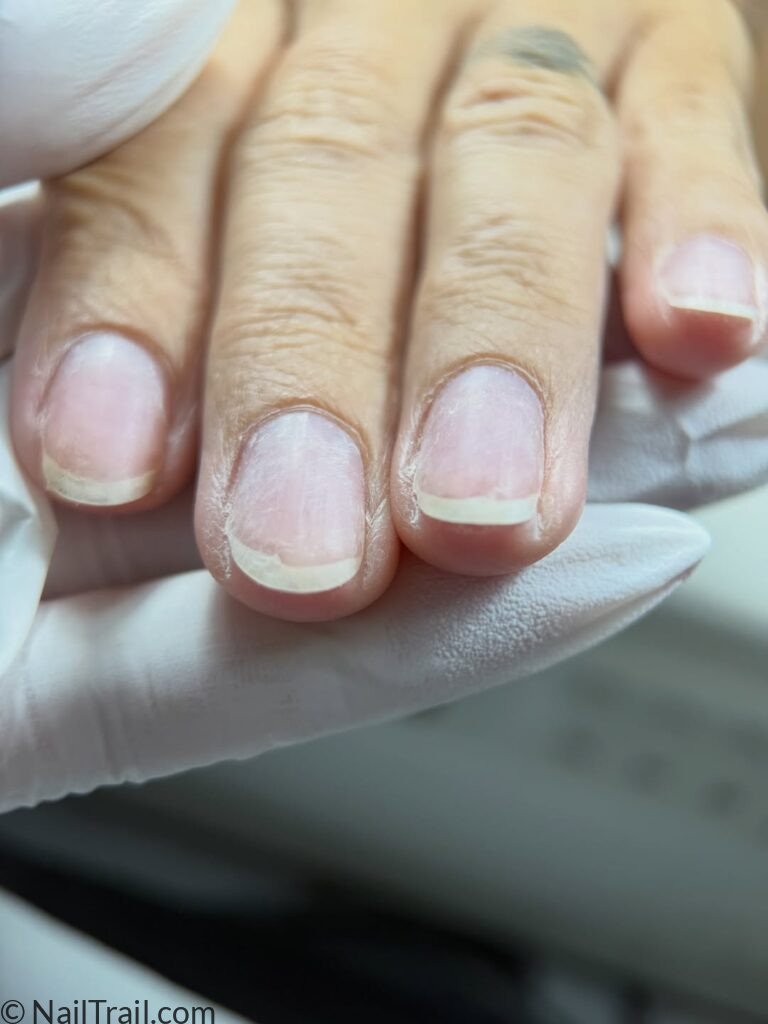
Push back your cuticles, shape and file each nail, then buff lightly and wipe with an alcohol pad to remove oils. A clean, dry nail bed helps both the base color and the sponge-blended color go on smoothly without dragging or streaking.
💅 Pro tip — Buff in one direction only — this keeps the nail bed smooth so your base color and sponge blend both sit evenly without catching on tiny ridges.
Step 3 — Apply Base Coat
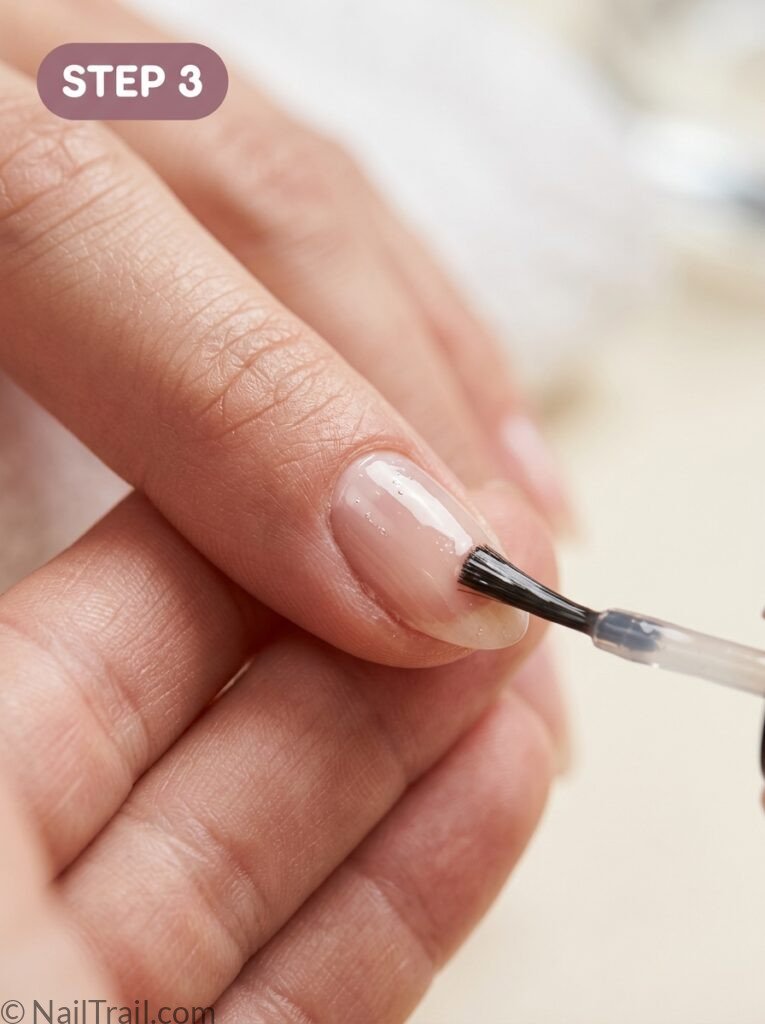
Apply one thin, even coat of natural nail base coat and let it dry fully. This protects your natural nail from staining and gives your base color something even to grip onto.
💅 Pro tip — Let the base coat dry completely before moving on — a tacky base can cause your first color coat to drag instead of laying flat and smooth.
Step 4 — Apply Two Coats of Base Color
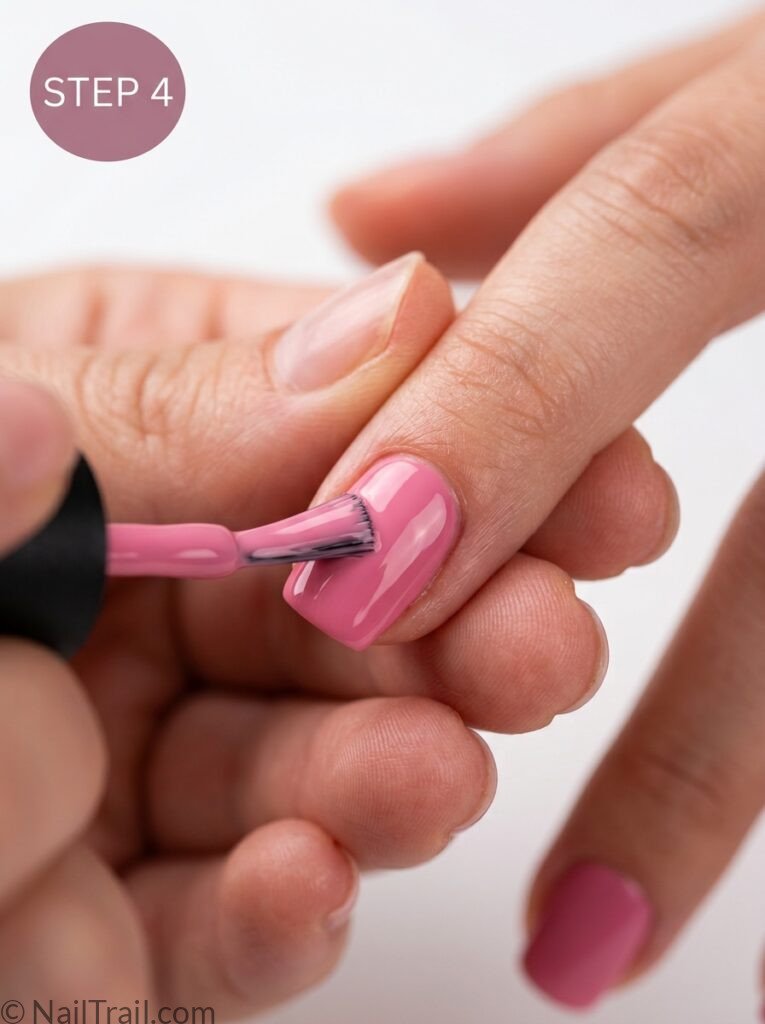
Apply two thin, even coats of your lighter shade across the entire nail, letting each coat dry fully before the next. This solid base color is what the tip of your gradient will fade down into, so full, even coverage here matters more than people expect.
💅 Pro tip — Let your base color dry completely — even a slightly tacky base color can smudge once you start pressing the sponge on top of it in the next steps.
Step 5 — Border the Nail with Tape
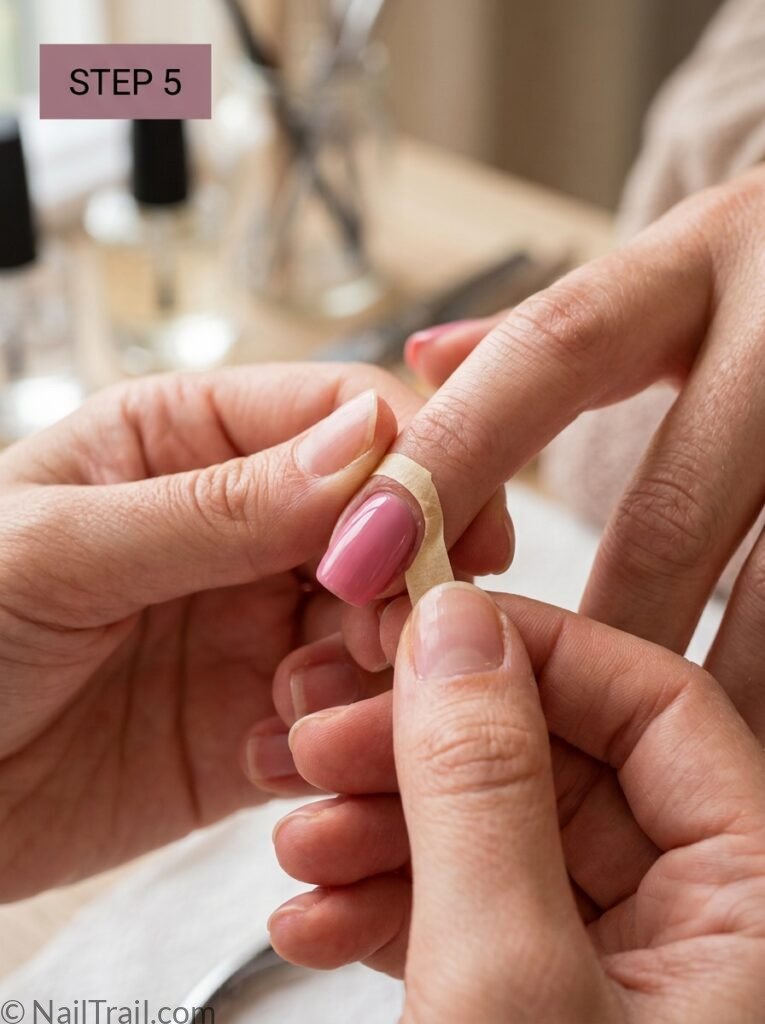
Press a piece of masking tape around the skin bordering the nail on all sides, leaving only the nail itself exposed. This step is what keeps the sponge blend contained to just the nail so cleanup afterward is quick and minimal.
💅 Pro tip — Press the tape down firmly right against the nail edge with your fingertip — any small gaps left between the tape and the skin let sponge color bleed through underneath.
Step 6 — Load the Sponge
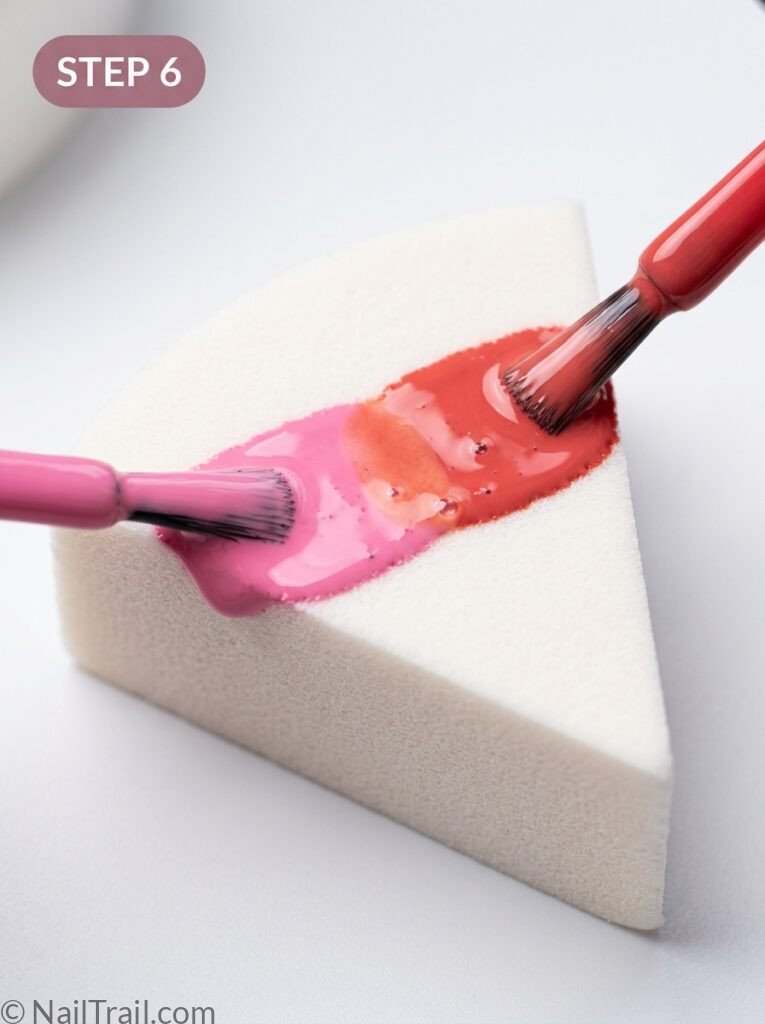
Brush your lighter color and darker color directly onto the sponge in two side-by-side stripes, letting them overlap slightly where they meet in the middle. This overlap zone on the sponge is what creates the soft blended transition once it’s pressed onto the nail.
💅 Pro tip — Reload the sponge with both colors every few nails rather than trying to stretch one loading across your whole hand — dried-out sponge color transfers unevenly and leaves patchy spots.
Step 7 — Sponge onto the Nail
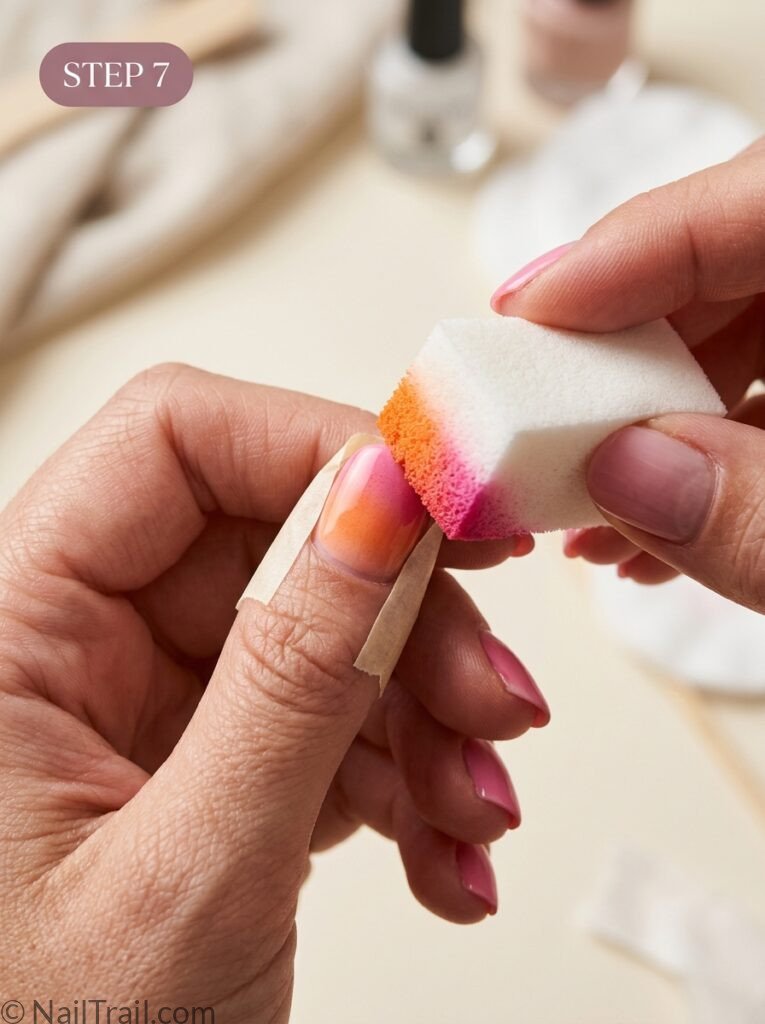
Lightly press and dab the loaded sponge onto the nail, keeping the darker color toward the tip and the lighter color toward the cuticle. Repeat the light dabbing motion two or three times, reloading the sponge as needed, until the gradient looks smooth and even.
💅 Pro tip — Press lightly rather than pushing down hard — a light touch transfers a soft gradient, while heavy pressure tends to deposit color unevenly in blotches.
Step 8 — Clean Up and Remove Tape
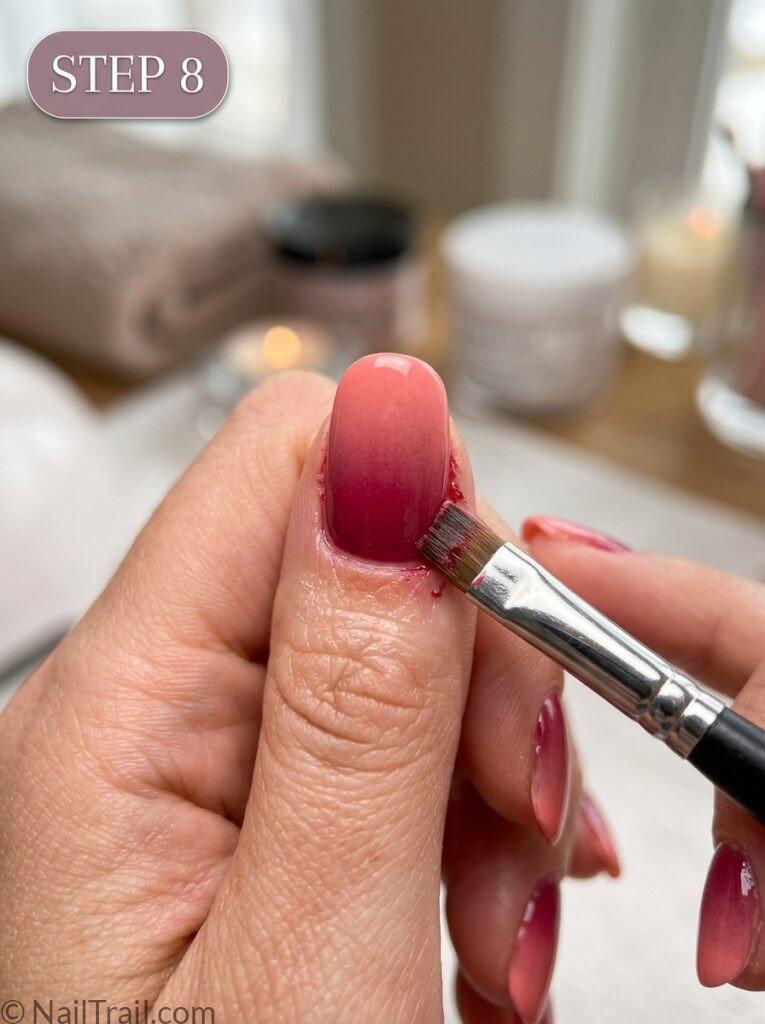
Peel off the masking tape carefully while the color is still slightly wet, then use a flat brush to clean up any small edges or stray color around the nail. Cleaning up now, before the top coat goes on, gives you the crispest possible edge.
💅 Pro tip — Remove the tape at a low angle, pulling it away from the nail rather than straight up — this reduces the chance of lifting or smudging the still-drying sponge color underneath.
Step 9 — Seal with Top Coat
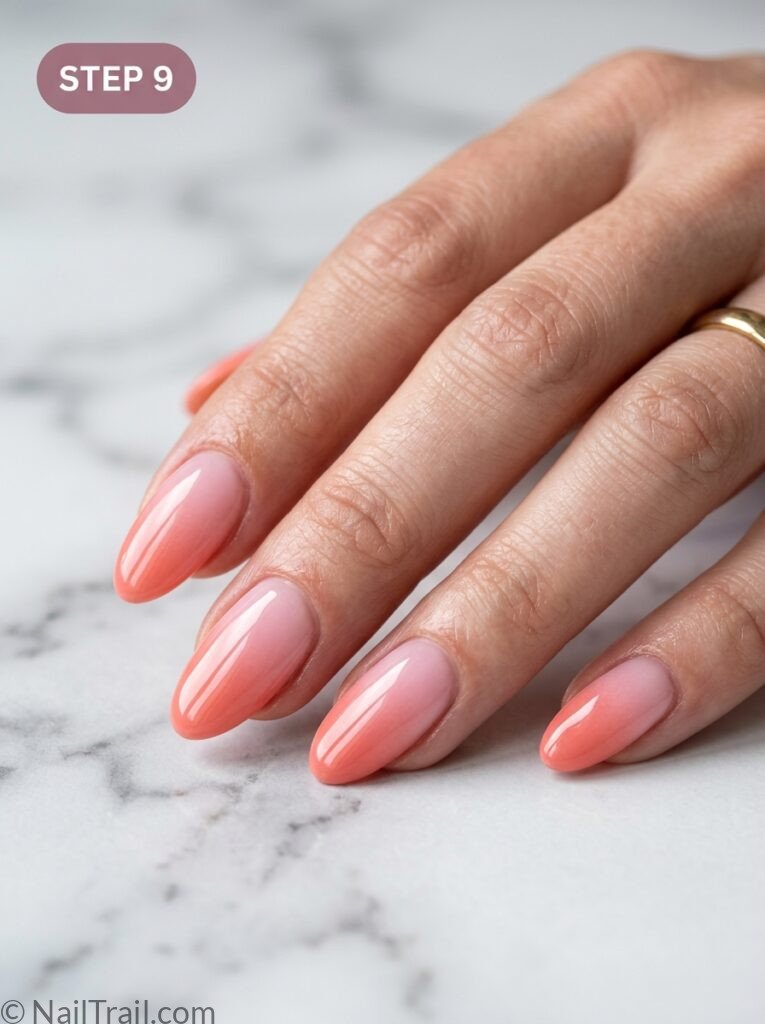
Once everything is fully dry, apply one even coat of glossy top coat over the whole nail and let it cure. This step smooths out any texture left from the sponge and gives the ombre that glass-like, salon-finished shine.
💅 Pro tip — Cap the free edge with top coat as the final step — sealing the tip is what keeps a sponge-blended gradient from chipping first, since it takes the most daily friction.
Common Mistakes to Avoid
Pressing the sponge too hard, which transfers too much color at once and creates blotches instead of a soft fade
Leaving gaps between the masking tape and the nail, which lets sponge color bleed onto the skin
Skipping the base color coats, which leaves the gradient looking thin and uneven at the cuticle end
Removing the tape straight up instead of at an angle, which can lift or smudge the still-drying color underneath
If your gradient still looks patchy after a few dabs, the sponge is likely running low on color — reload both shades more often than feels necessary, since a dry sponge is the most common reason for uneven, streaky ombre results.
Color Ideas to Try
Once you’ve got the blending technique down, ombre opens up a lot of color pairing options — a soft pink-to-coral gradient like this one reads warm and wearable for everyday, while two bolder shades from our nail trends 2026 roundup create a much more statement-making look. For a subtler take, try blending two tones from the same color family, similar to the softer fades in our ombre nail ideas.
Final Thoughts
Ombre nails look far more advanced than the technique actually requires — the whole trick is in a solid base color, a well-loaded sponge, and light, even pressure when blending. Practice on one nail first if this is your first try, then apply what you’ve learned across the rest. Browse our full ombre nail ideas for more color pairing inspiration! 💅✨
